




How to Start a Print-on-Demand Business With No Money

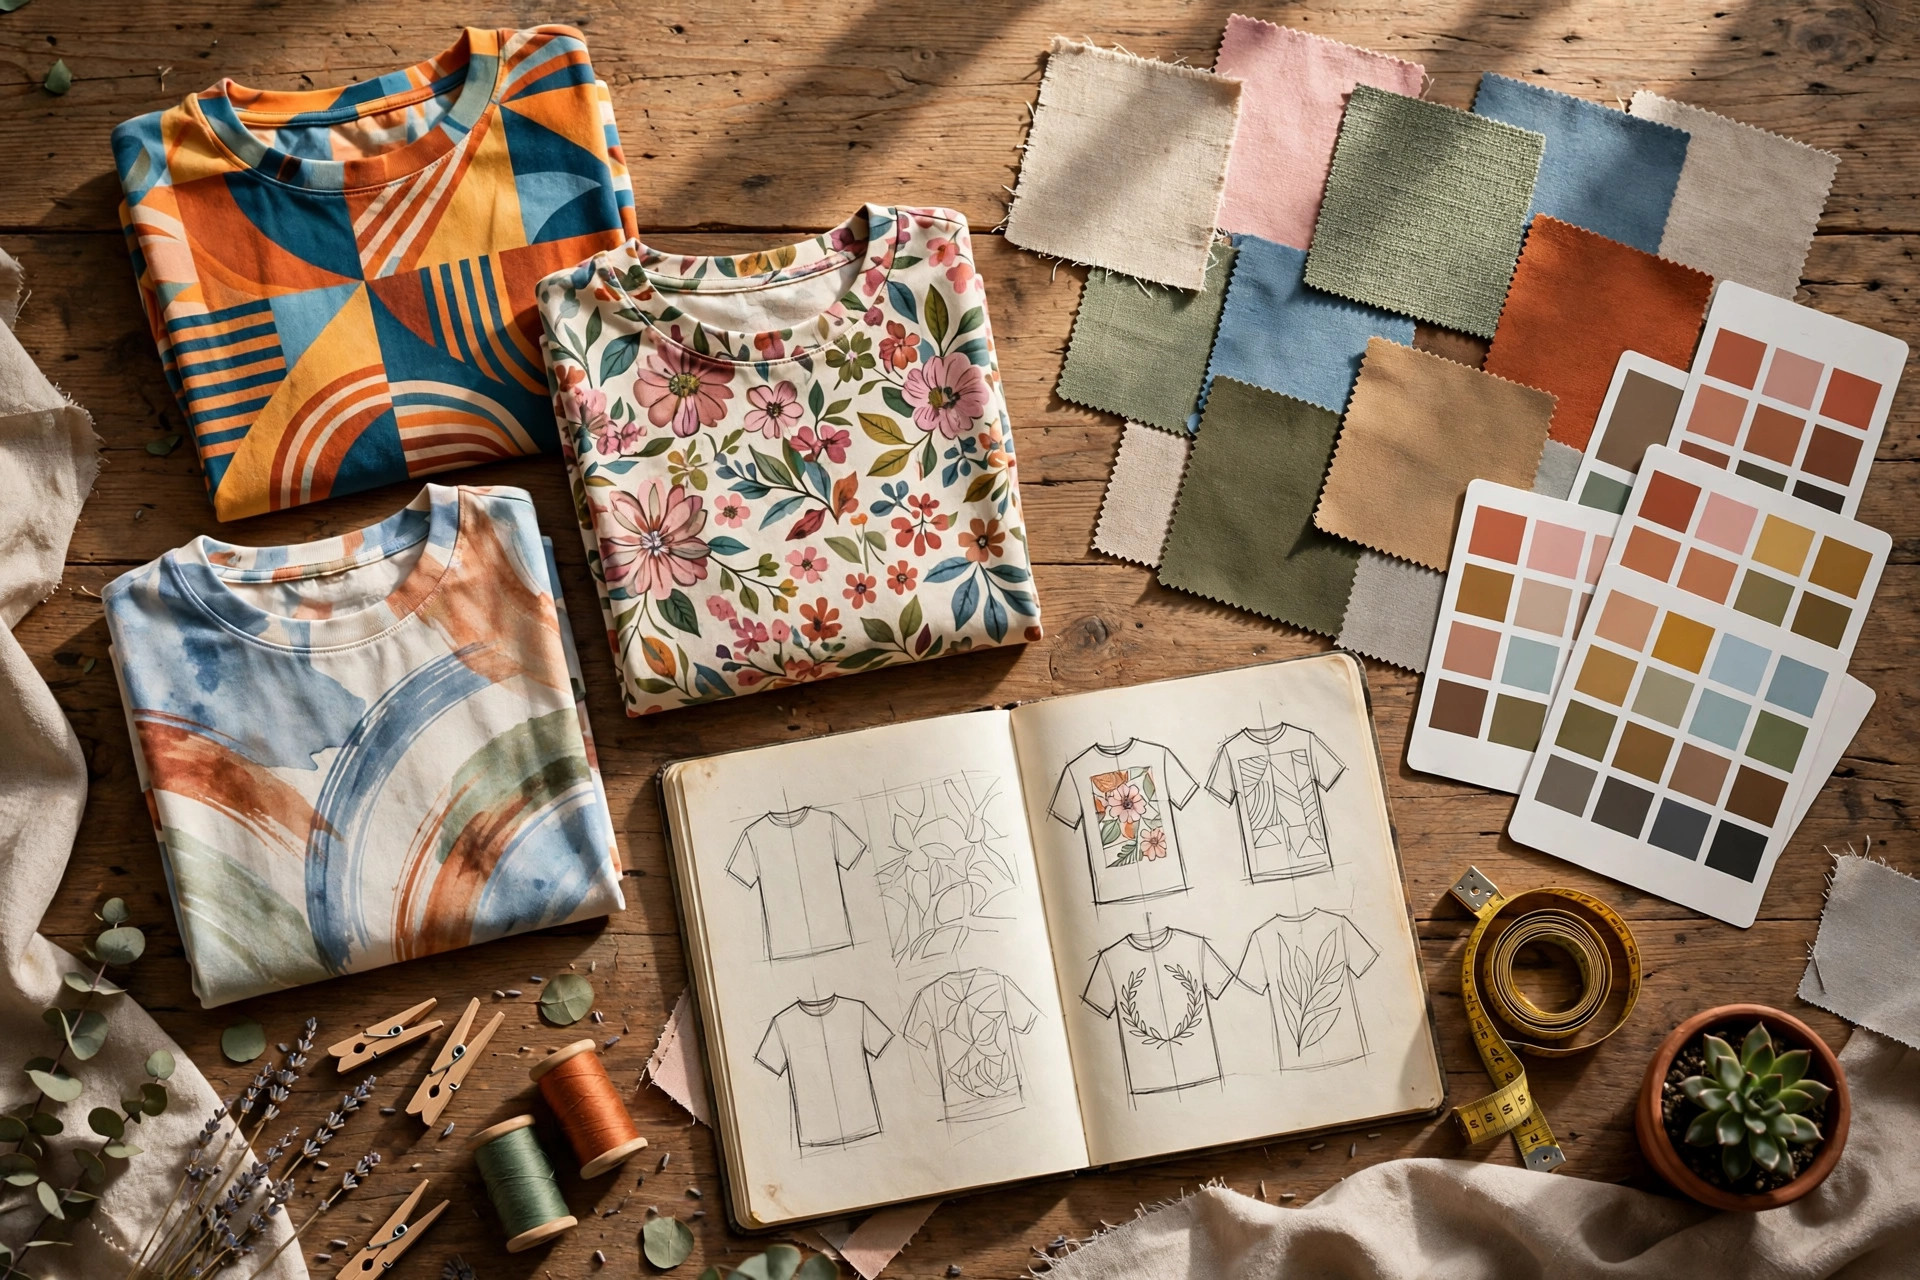
Every “start a business” guide seems to assume you have $500 to spare. You don’t — and with print-on-demand, you don’t need it. You pay nothing until a customer actually orders, because the printing, packing and shipping are handled for you. Here is the exact seven-step path to start a print on demand business with no money, using only free tools, and reach your first sale.
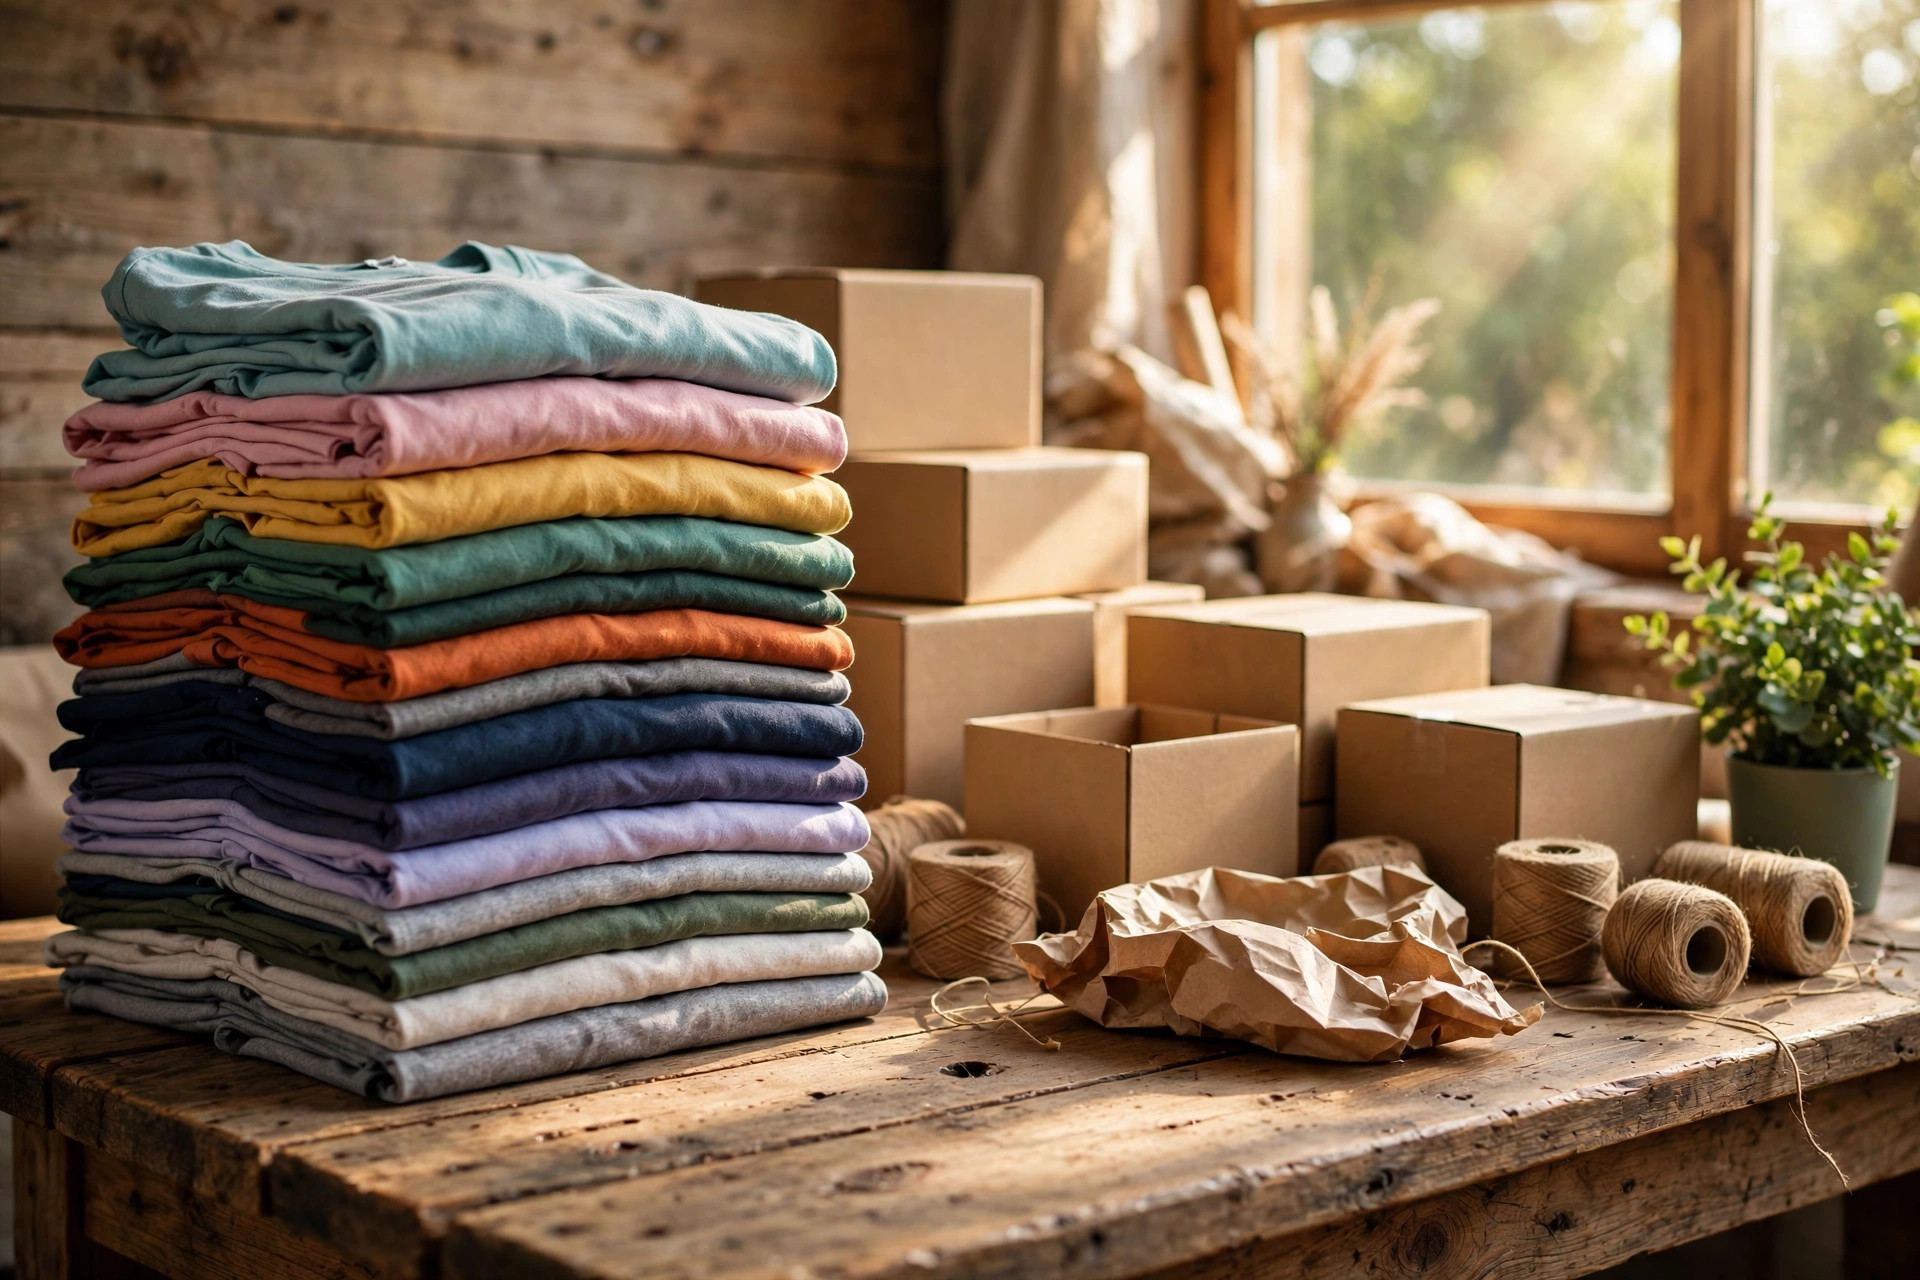
Step 1: Pick a Niche Small Enough to Win
Choosing one narrow audience is the highest-leverage decision you will make. Broad designs compete with millions of listings; narrow ones compete with dozens — and passionate niche buyers spend more per order.
Do it like this: first, write down five topics you genuinely know or care about — dog breeds, nursing, fishing, gaming, new mums. Second, search each one on a marketplace like Redbubble and sort by bestsellers; if the entire first page is dominated by shops with 10,000+ sales, that niche is saturated, so move on. Third, pick the niche where you see steady sales but amateur-looking designs — that gap is your opening.
For example, skip “funny t-shirts” and go with “funny dialysis nurse t-shirts”: a real audience with real spending power and a fraction of the competition.
Pro tip: niche down twice. “Dog shirts” becomes “dachshund shirts” becomes “dachshund mum shirts”. Each narrowing roughly halves your competition while keeping buyers who happily pay full price.
Step 2: Build a Launch Catalogue of 20 Designs
Shops with fewer than ten listings barely get any search traffic, so create 20 designs before you open. Twenty sounds like a lot, but text-based designs are fast and they sell extremely well.
Use free tools only: Canva’s free plan for layouts, Google Fonts (open licence, safe for commercial use), and the free tier of background-removal tools for cut-outs. Export every design as a transparent PNG at 4500 × 5400 pixels — the standard print size for apparel — and budget about 45 minutes per design, which means one focused evening per week gets you there in a month.
For example, design number one could be “World’s Okayest Nurse” in bold collegiate lettering on a transparent background, paired with a free stethoscope illustration from Canva’s free elements (always filter by free licence before downloading).
Pro tip: make your first ten designs typography-only. Type sells, it needs zero drawing skill, and each one takes half the time of an illustrated design.
Step 3: Choose a POD Partner That Costs $0 to Join
A print-on-demand fulfilment company prints and ships every order for you — you never touch inventory, and you never pay for a product that hasn’t sold yet.
Compare the free plans of the big fulfilment platforms (Printify and Printful both let you create products and connect stores without paying anything). Check three things before committing: the base cost of your main product, shipping rates to the country you are targeting, and which marketplaces each platform integrates with. Start with whichever gives you the lowest base cost on the product you will sell most.
For example, on a typical free plan a Bella + Canvas 3001 tee costs around $8.50–$9.95 to print depending on the provider; list it at $21.95 and you keep roughly $12 profit on every shirt sold.
Pro tip: ignore the premium plans until you are selling 30+ items a month. The free tiers are genuinely enough to launch and validate your niche.
Step 4: Open Your Storefront for Free
You need somewhere customers can actually buy — and several serious options cost literally nothing to start.
List on marketplaces with zero listing fees such as Redbubble or TeePublic: you upload designs, they handle payments, printing and customer service, and you earn a margin on every sale. Alternatively, open an Etsy shop once your first sales prove the concept (Etsy charges $0.20 per listing, so treat it as “almost free” rather than free). Whichever route you take, connect your fulfilment provider so orders flow to the printer automatically with no manual work from you.
For example, you can upload all 20 nurse designs to Redbubble in a single afternoon: set the default apparel markup to 20%, enable every product type the platform offers, and your designs start appearing in search results the same day.
Pro tip: start on ONE marketplace and learn how its search algorithm ranks listings before spreading yourself across five platforms and doing all of them badly.
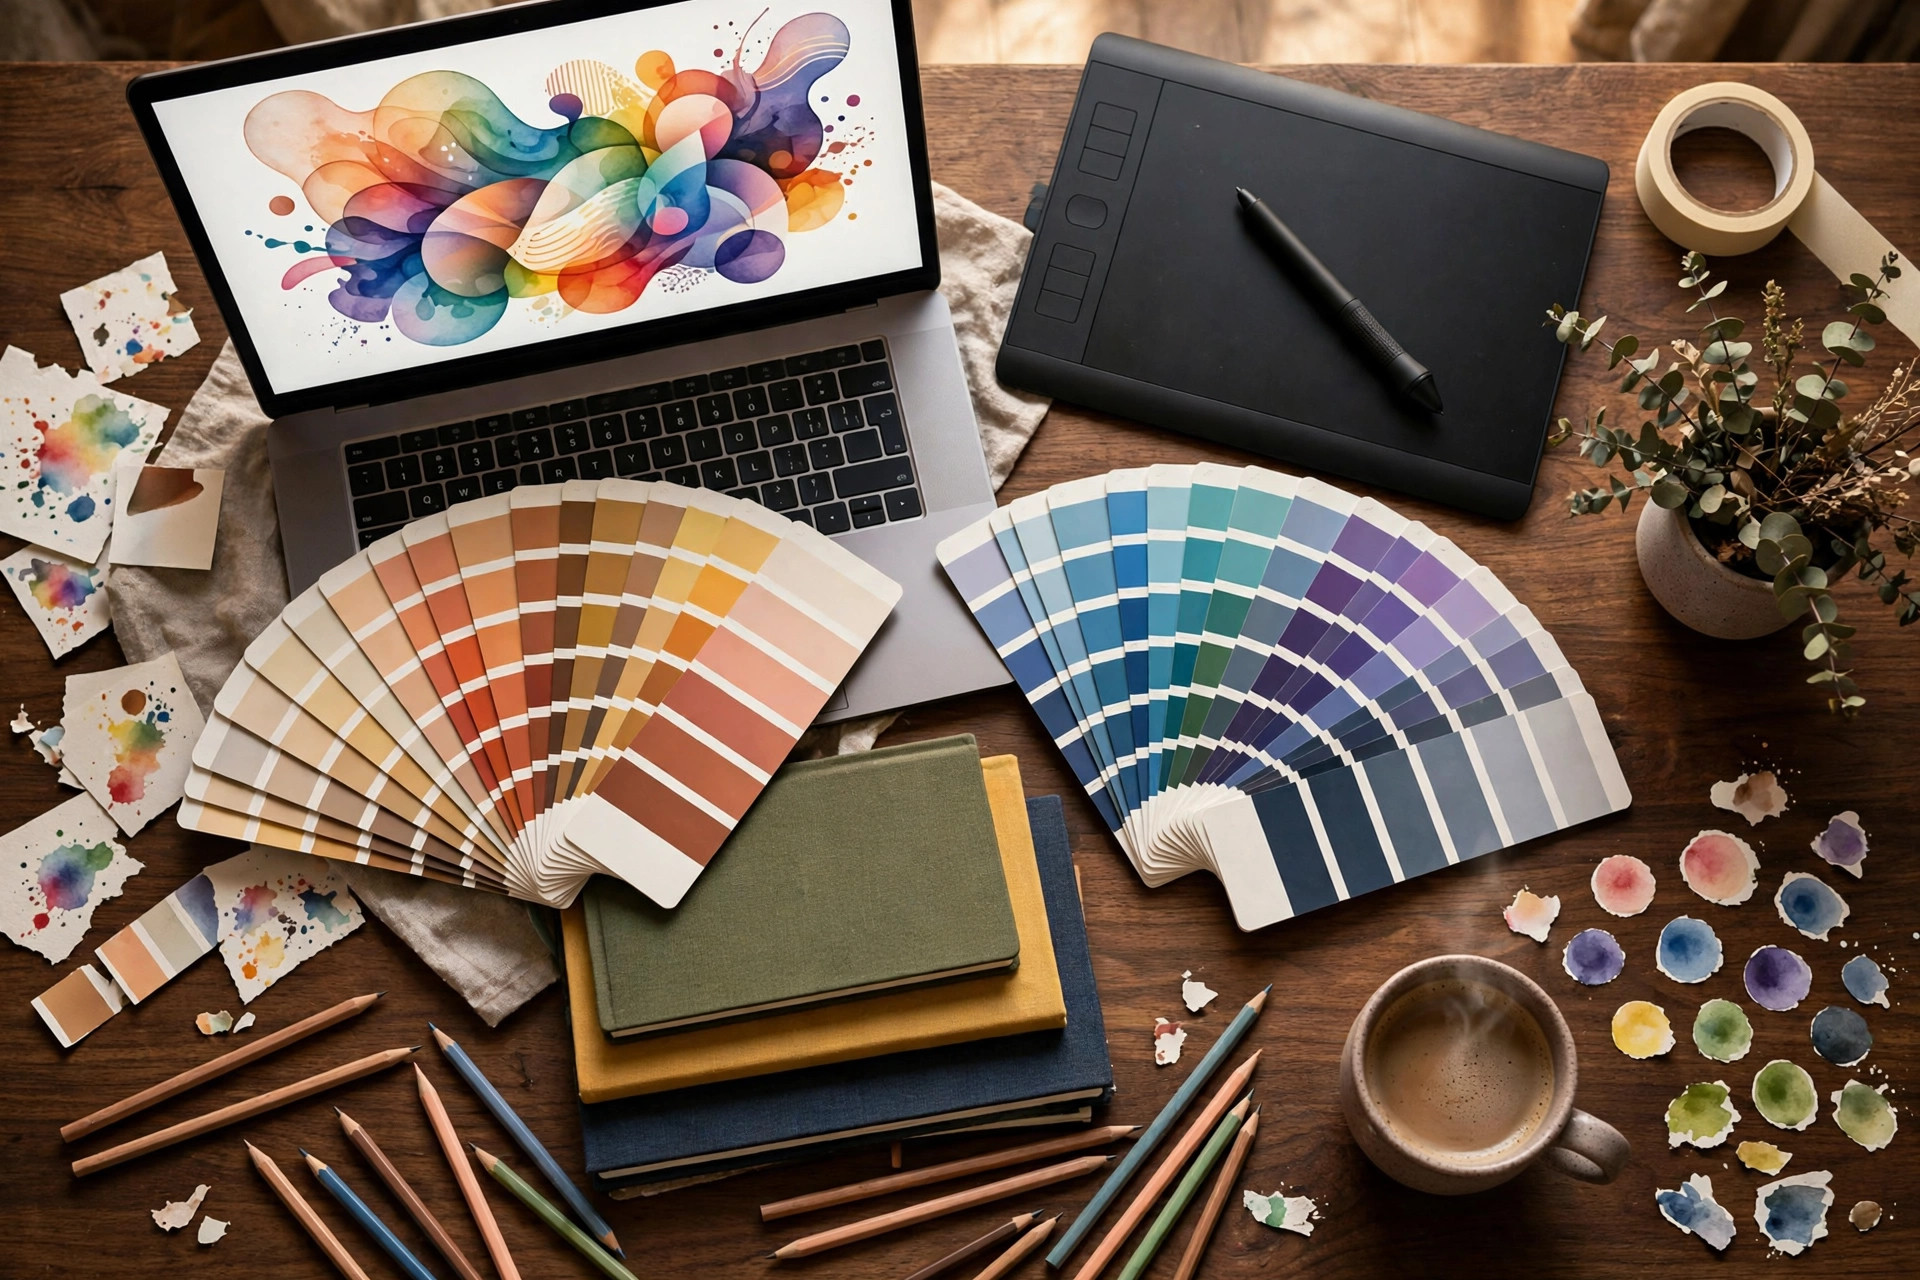
Step 5: Price for Profit, Not Just for Sales
Your price has to cover the base printing cost, the platform’s cut, and still leave you real profit — otherwise you are running a charity with extra steps.
Use this formula every time: retail price = base cost + platform fees + your profit margin. Aim for at least $8–$12 of profit on every apparel item. Never price at the base cost “just to get sales” — you will work for pennies and have nothing left to reinvest when something finally sells.
For example: $9.95 base cost + $12 margin = a $21.95 list price. That is a completely normal price for a niche graphic tee, and buyers in passionate niches pay it without blinking.
Pro tip: test three price points across similar designs — $19.95, $21.95 and $24.95 — and after about 100 views each, keep whichever converts best. Let data, not fear, set your prices.
Step 6: Write Listings That Get Found
Great designs earn nothing if nobody sees them. Your titles, tags and mockup images are the salespeople working while you sleep.
Put your main keyword in the first 55 characters of the title, fill every available tag slot with specific phrases buyers actually type (“funny nurse gift”, “dialysis nurse shirt”, “nurse appreciation week”), and write a two-to-three sentence description that names the buying occasion — Nurse Week, graduations, birthdays. Upload crisp mockup images showing the design on a real-looking garment, because flat product photos do not sell apparel.
For example, a strong title reads: “Funny Dialysis Nurse Shirt – Nurse Appreciation Gift – Nephrology Nurse Tee”, supported by tags like “dialysis nurse shirt”, “funny nurse gift” and “nurse week gift”.
Pro tip: study the top five bestsellers in your niche and mirror their keyword patterns in your own titles and tags — learn from their positioning, but never copy their designs.
Step 7: Get Your First 100 Visitors for $0
Free traffic is real; you earn it with consistency rather than cash. Three channels do the heavy lifting for new POD sellers.
First, Pinterest: post three pins per design per week linking straight to your listings. Pinterest works like a search engine, and product pins keep driving clicks for months. Second, short video: 30-second “watch me design this” clips on TikTok and Reels — process content consistently outperforms polished ads in this niche. Third, niche communities: answer questions genuinely in Facebook groups and subreddits for your niche, with your shop link in your profile, never in the post itself.
For example: 20 designs × 3 pins = 60 pins in your first month. Even a modest 1% click-through on 5,000 impressions sends 50 free visitors to your listings — easily enough for a first sale.
Pro tip: pin to keyword-named boards like “Funny Nurse Gifts” and “Nurse Appreciation Ideas”, because board titles rank in Pinterest search too and multiply your reach.
Common Mistakes to Avoid
- Designing for “everyone” — broad designs compete with millions of listings; narrow designs compete with dozens.
- Launching with three designs — marketplaces reward catalogue depth, and under 20 listings the algorithm barely notices you exist.
- Forgetting fees in your pricing — a $21.95 sale with a $9.95 base cost and $4 in platform fees is $8 profit, not $12. Do the maths before you list, not after.
- Copying trending designs — a single copyright strike can shut your shop down overnight. Use only original or properly licenced assets.
Quick Checklist
- Niche picked and validated against real bestseller pages
- 20 designs exported as 4500 × 5400 px transparent PNGs
- Free fulfilment account created and connected
- Storefront live on one free marketplace
- Every product priced with $8–$12+ profit built in
- Titles, tags and mockups finished for all 20 listings
- 60 Pinterest pins scheduled for month one
Zero budget is not a disadvantage in print-on-demand — it forces you to master the exact skills (design, keywords, free traffic) that keep paying you long after your first sale. And when you are ready to make your listings look truly professional, you will find ready-made mockups and design templates waiting at HaseenTools.