





How to Create and Sell Digital Stickers in Procreate: A Beginner’s Step-by-Step Guide

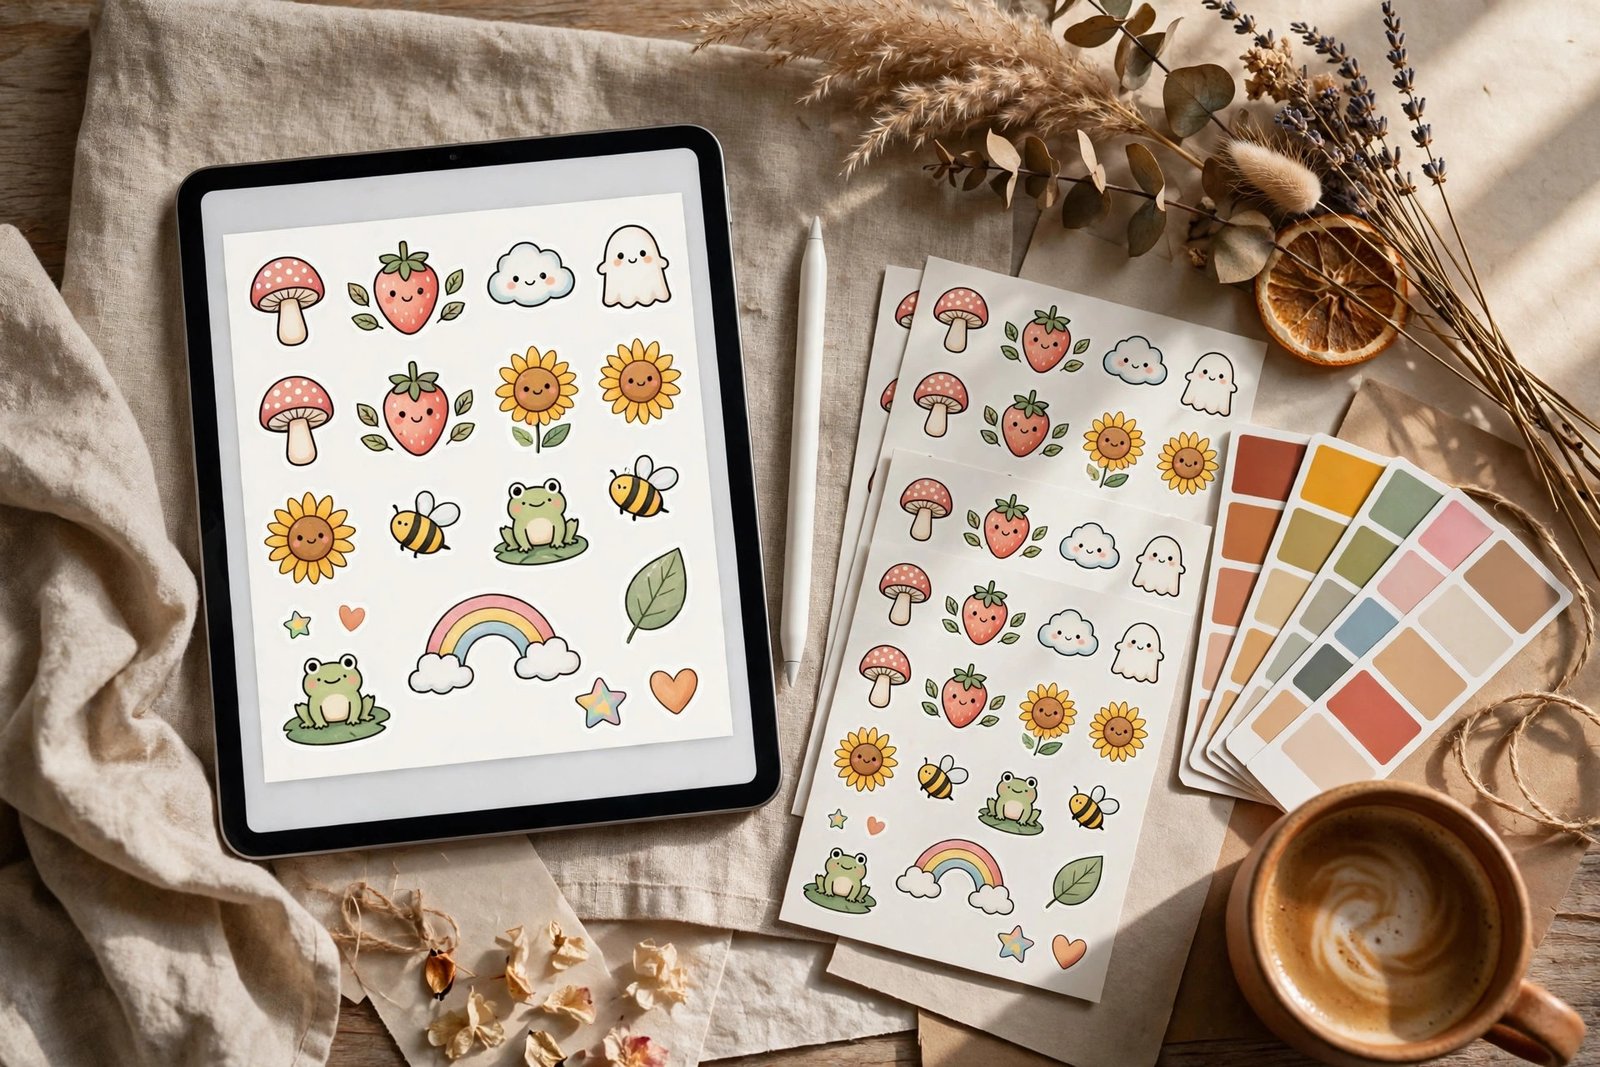
Most Procreate sticker packs fail before anyone sees them. The drawings are scattered, the edges are messy, and the files will not open cleanly in a planner app. Buyers scroll past in seconds. This guide fixes that. You will learn how to create and sell digital stickers in Procreate as one tight, sellable pack — from choosing a niche buyers already search for, to a 3000-pixel canvas, clean white borders, transparent PNG exports and a listing that explains exactly what is inside.
Step 1: Pick One Niche and One Use Case
Choose a single audience and a single job for the pack. Write one sentence in this form: “For [audience], to use in [app or planner], for [occasion or routine].” Then list 18 sticker ideas that fit that sentence and delete anything that does not. For example: “For nursing students, to use in GoodNotes, for weekly study planning” gives you pill bottles, coffee cups, highlighted dates, “exam week” banners and small anatomy doodles — not random cats and rainbows. Pro tip: check three best-selling packs in your niche first and note what they all include; your pack must match that core set, then add two ideas none of them has.
Step 2: Set Up a Print-Ready Procreate Canvas
Build every sticker on the same large, high-resolution canvas so exports stay sharp at any size. Open Procreate, tap the plus icon, then New Canvas, and set 3000 by 3000 pixels, 300 DPI, sRGB colour profile. Name the file with the pack name and date, for example “study-stickers-v1”. Create one layer group per sticker, keep a locked background layer in a pale neutral colour for previewing only, and turn it off before export. For example, a 3000-pixel mushroom sticker still looks crisp when a buyer shrinks it to 400 pixels in a digital planner, while a 1000-pixel original turns soft and blurry. Pro tip: save two Procreate brush favourites — a firm inking brush for outlines and a soft airbrush for shading — and use only those two across the whole pack so the style stays consistent.
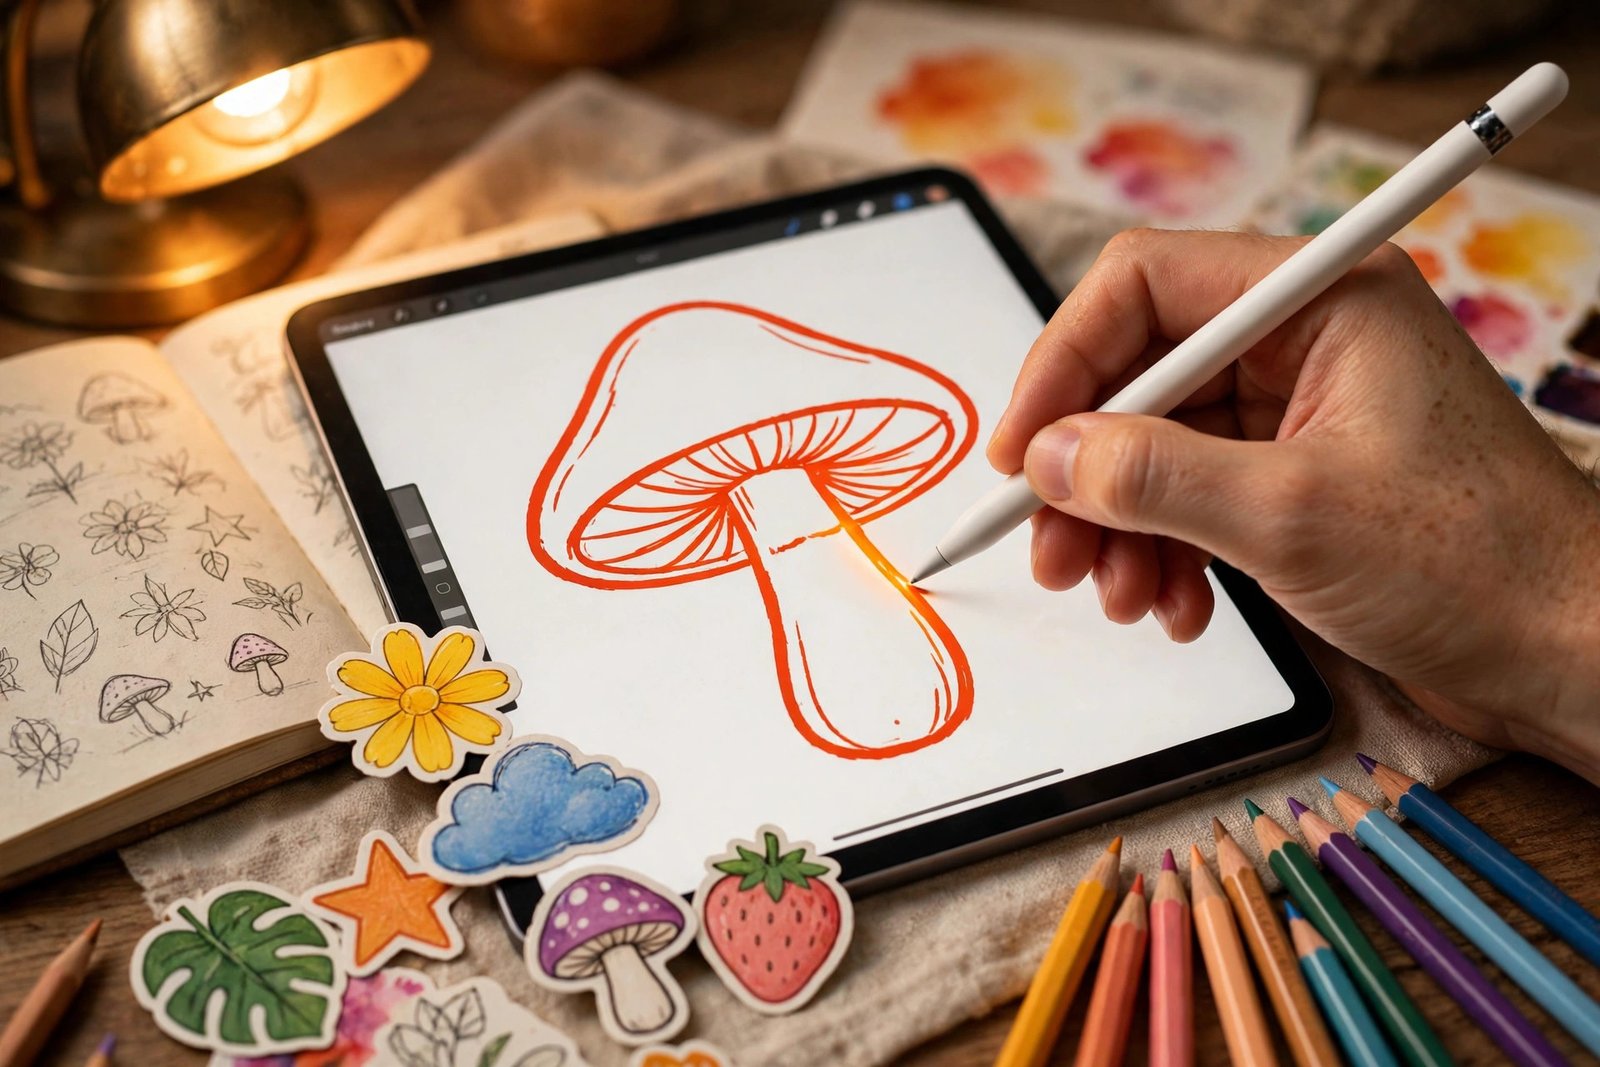
Step 3: Draw a Cohesive Set, Not 18 Separate Doodles
Draw 18 stickers that look like they belong together. Pick five colours and write down their hex codes, then use only those five plus black and white. Sketch all 18 ideas roughly on one canvas first, check the balance of big, medium and tiny shapes, then ink and colour one sticker at a time on its own layer group. For example, a cosy autumn pack might use rust, mustard, sage, cream and chestnut brown across every sticker, from a pumpkin latte to a falling leaf, so a buyer can mix any three stickers on one planner page without a clash. Pro tip: draw each sticker at least twice the size you think you need, then shrink it; small wobbles disappear and lines look deliberately smooth. For a broader grounding in sticker packs, read this guide to creating and selling digital stickers.
Step 4: Add Clean White Borders and Tidy Edges
Give every sticker a smooth white die-cut border and remove stray pixels. On each sticker group, select the artwork, expand the selection by 25 to 30 pixels, fill a new layer below the artwork with white, then tidy the edge with a soft eraser at low opacity. Zoom to 200 percent and check the outline for gaps, spikes and leftover colour specks. For example, a strawberry sticker with a 28-pixel white border reads clearly on a dark planner page, while the same sticker with no border disappears into the background. Pro tip: keep the white border on its own layer, separate from the artwork, so you can widen or narrow it for print and digital versions without redrawing anything.
Step 5: Export Transparent PNGs and a Printable PDF
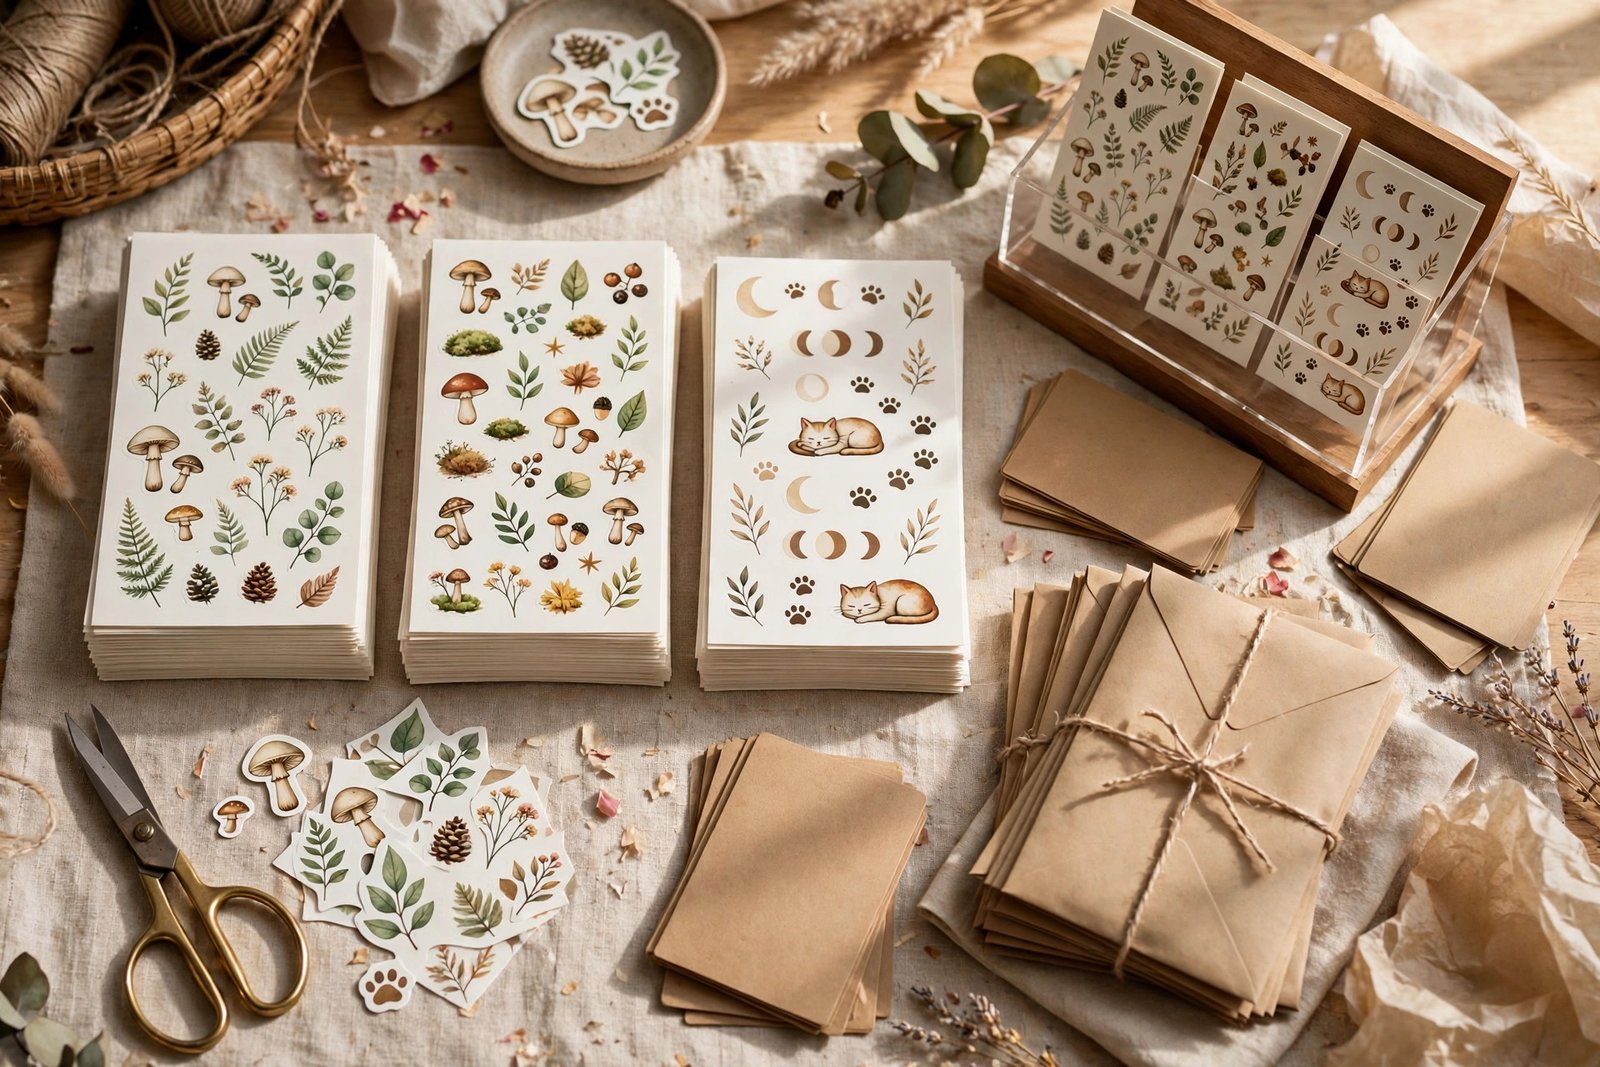
Export files buyers can actually use, in both digital and print forms. Turn off the background layer, then export each sticker as a PNG with transparency. Name files clearly, such as “01-pumpkin-latte.png” through “18-falling-leaf.png”. Then duplicate the Procreate file, arrange the stickers on A4 pages with a small margin, and export a print-ready PDF. Open the PNGs in GoodNotes or a similar app and print one PDF page before you list anything. For example, a buyer who opens your pack in GoodNotes should be able to drag each PNG onto a weekly spread in under ten seconds, with no white box around it. Pro tip: export a second PNG set with the white border flattened in, labelled “with-border”, because some planner apps show transparent edges poorly; buyers get both sets and you get fewer support messages.
Step 6: Price, List and Launch With Mockups That Show the Use
Turn the finished files into a listing that answers every buyer question before it is asked. Price a pack of 15 to 20 stickers at 3 to 7 dollars or the equivalent in your store currency, checking three comparable packs first. Write the first listing line as the use-case sentence from Step 1, list every file and format, and show five mockups: the full sheet, three stickers on a real planner page, a close-up of the border, a print test and a colour-palette shot. For example, a listing that opens “18 study stickers for GoodNotes nursing planners” and shows the stickers inside a weekly spread will outsell a listing titled only “cute stickers” with a plain white background. Pro tip: pin the best mockup to Pinterest on launch day with the listing link, then reuse the same image in your shop banner for a week; one strong visual working twice beats five rushed ones. Browse ready-made design starting points in these Canva templates if you want matching listing graphics without starting from a blank canvas.
Common Mistakes to Avoid
- Drawing 20 unrelated stickers and calling them a pack: buyers buy a theme, not a lucky dip.
- Exporting on a white background instead of transparency: the white box ruins digital planner pages.
- Skipping the print test: colours that look warm on an iPad can print dull, and buyers notice.
- Pricing from effort instead of the market: a first pack priced at 15 dollars competes with established shops selling similar packs for 4 dollars.
Quick Checklist
- One niche, one use-case sentence, 18 ideas that fit it
- 3000 by 3000 pixel canvas, 300 DPI, five-colour palette
- White border of 25 to 30 pixels on a separate layer
- Transparent PNG set plus printable A4 PDF, both tested
- Clear file names, 3 to 7 dollar price band, five use-focused mockups
A sticker pack is the perfect first Procreate product: small enough to finish in a weekend, cheap to make, and easy to multiply into a whole shop of niches. Design the pack, export it right, and let the mockups do the selling — and when you are ready for your next pack, give yourself a head start with the design resources at Haseen Tools.