

How to Create and Sell a Printable Recipe Binder in Canva: A Step-by-Step Guide

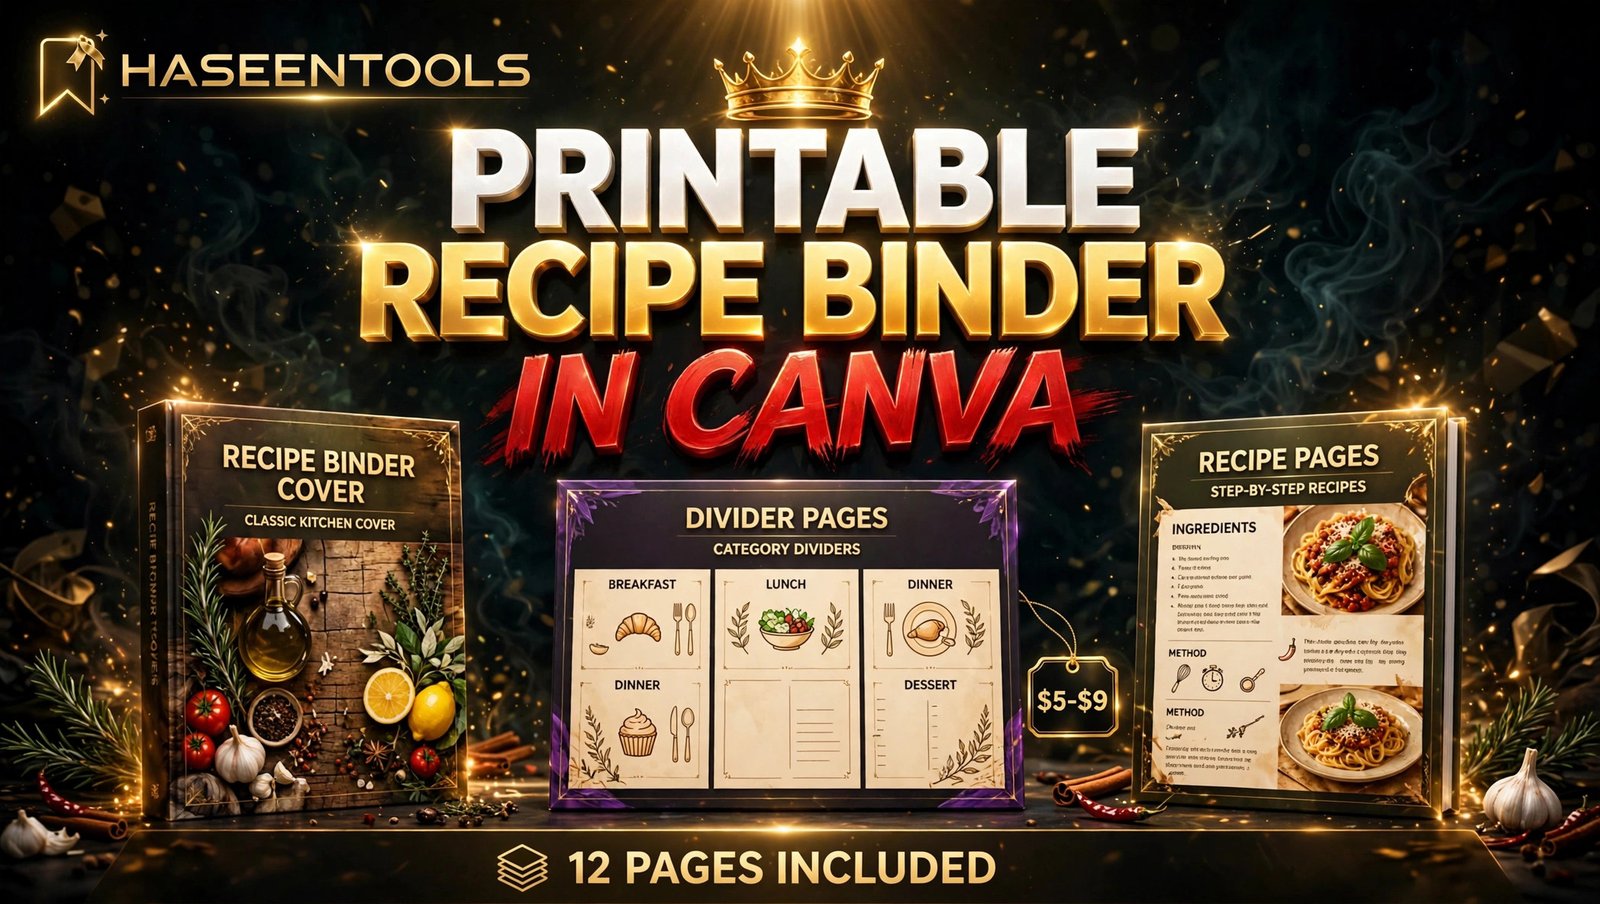
Open any kitchen drawer and you will find the same mess: bent recipe cards, screenshots buried in a phone, and a stained notebook nobody can read. A printable recipe binder to sell in Canva turns that mess into one tidy product — a 12-page binder a buyer prints at home and uses every week. In this guide, you will design it from scratch, price it at $5–$9, and list it for sale, even if you have never sold a template before.
What Is a Printable Recipe Binder?
A printable recipe binder is a 12-page digital download — a cover, four dividers, four recipe pages, a meal plan, a shopping list and a conversion chart — that a buyer prints at home and keeps in a ring binder. It is sold as a PDF or a Canva link.
A binder is not a book and it is not a card set. A book holds finished recipes; a card set holds one recipe per card. A binder holds a whole kitchen system: the recipes, the dividers that sort them, the weekly plan, and the shopping list, all in one file. And here is the part most people miss: the binder sells because of the system, not the decoration. A pretty cover gets the click; clear dividers and a shopping list that works get the five-star review.
Step 1: Pick One Kitchen Problem, Not “All Cooking”
What to do: Choose one clear buyer and one kitchen problem, so every page of your printable recipe binder to sell in Canva feels made for the same person.
Exactly how: Write down three buyers you understand, such as busy parents, new home bakers, or students cooking on a budget. For each one, write the exact problem in one sentence, for example “weeknight dinners take too long to plan”. Search each phrase on Etsy and Pinterest, and pick the buyer whose problem already has active listings and pins.
Example: You pick busy parents, because you cook for your own family every night. Your binder becomes “weeknight dinners for busy parents”, with dividers for quick mains, slow-cooker meals, baking, and desserts.
Pro Tip: If you cannot describe your buyer in one sentence, your niche is still too broad.
Common Mistake: Trying to serve every kind of cook in one binder. A binder for everyone helps no one.
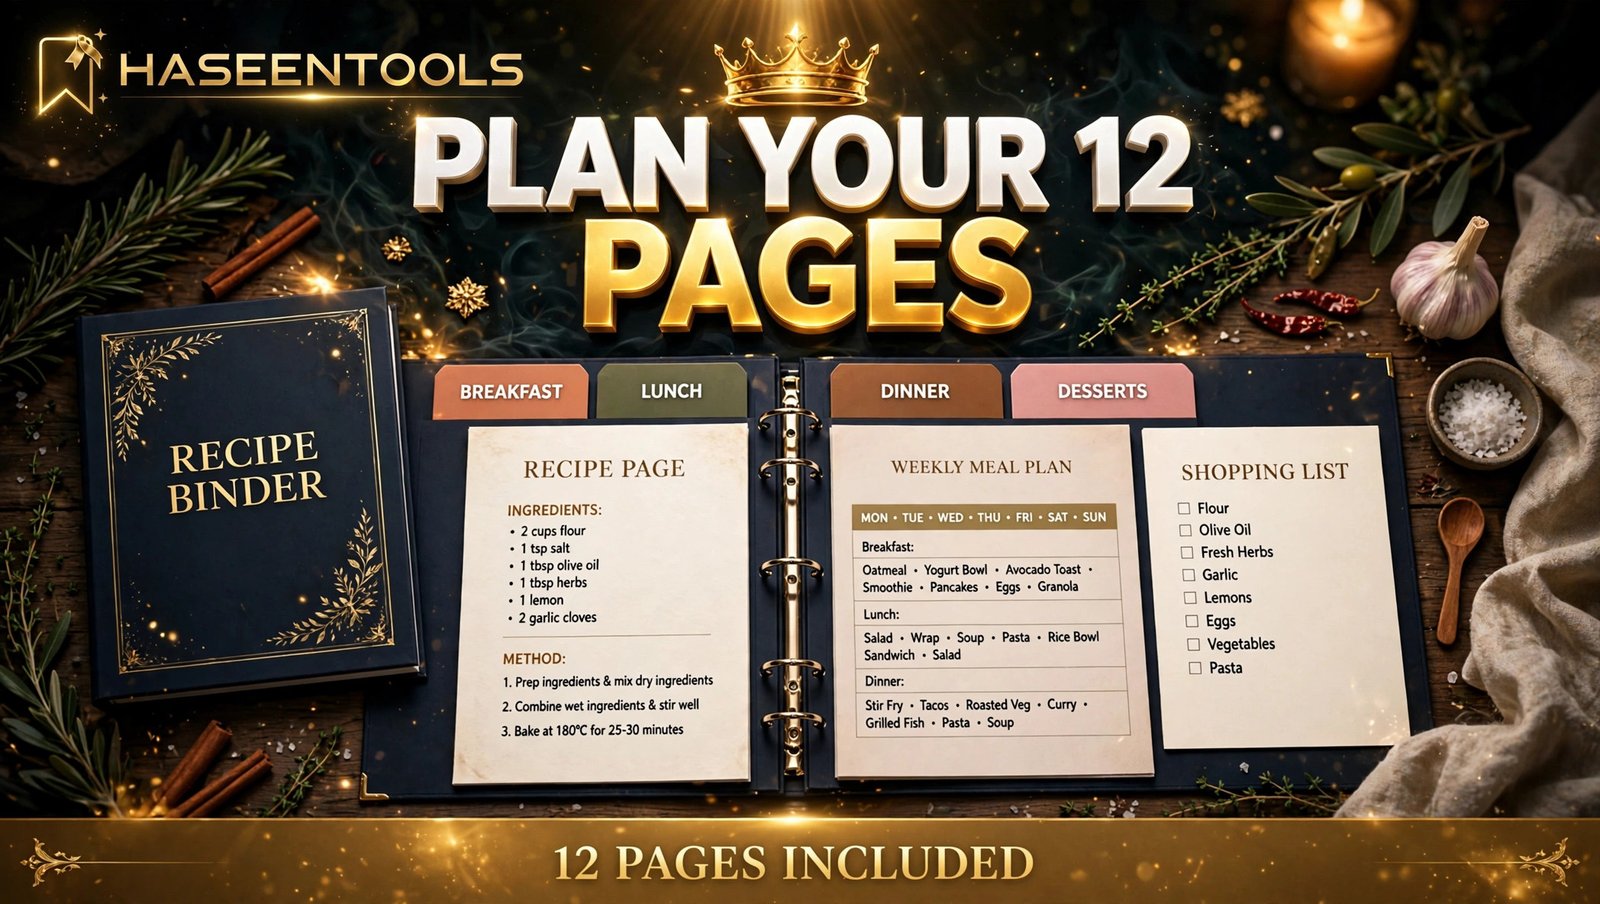
Step 2: Plan the 12 Pages Before You Design Anything
What to do: Decide the exact 12 pages in your binder and what each page does, before you open Canva.
Exactly how: Sketch the binder on paper first. Your 12 pages are: a cover, four divider pages (one per section), four recipe pages, a weekly meal plan, a shopping list, and a conversion chart. For each page, write its job in one sentence. Set your page size now: US Letter (8.5 by 11 inches) and A4 are the sizes most buyers expect, so offer both.
Example: Your binder could be: cover, dividers for Weeknight Dinners, Slow Cooker, Baking, and Desserts, four recipe pages, a meal plan, a shopping list, and a conversion chart.
Pro Tip: Give every divider a small tab label on the right edge, so a buyer finds the right section in seconds.
Common Mistake: Adding pages to reach a round number. Twelve strong pages sell better than twenty padded ones. Our printable meal planner guide plans its pack the same lean way.
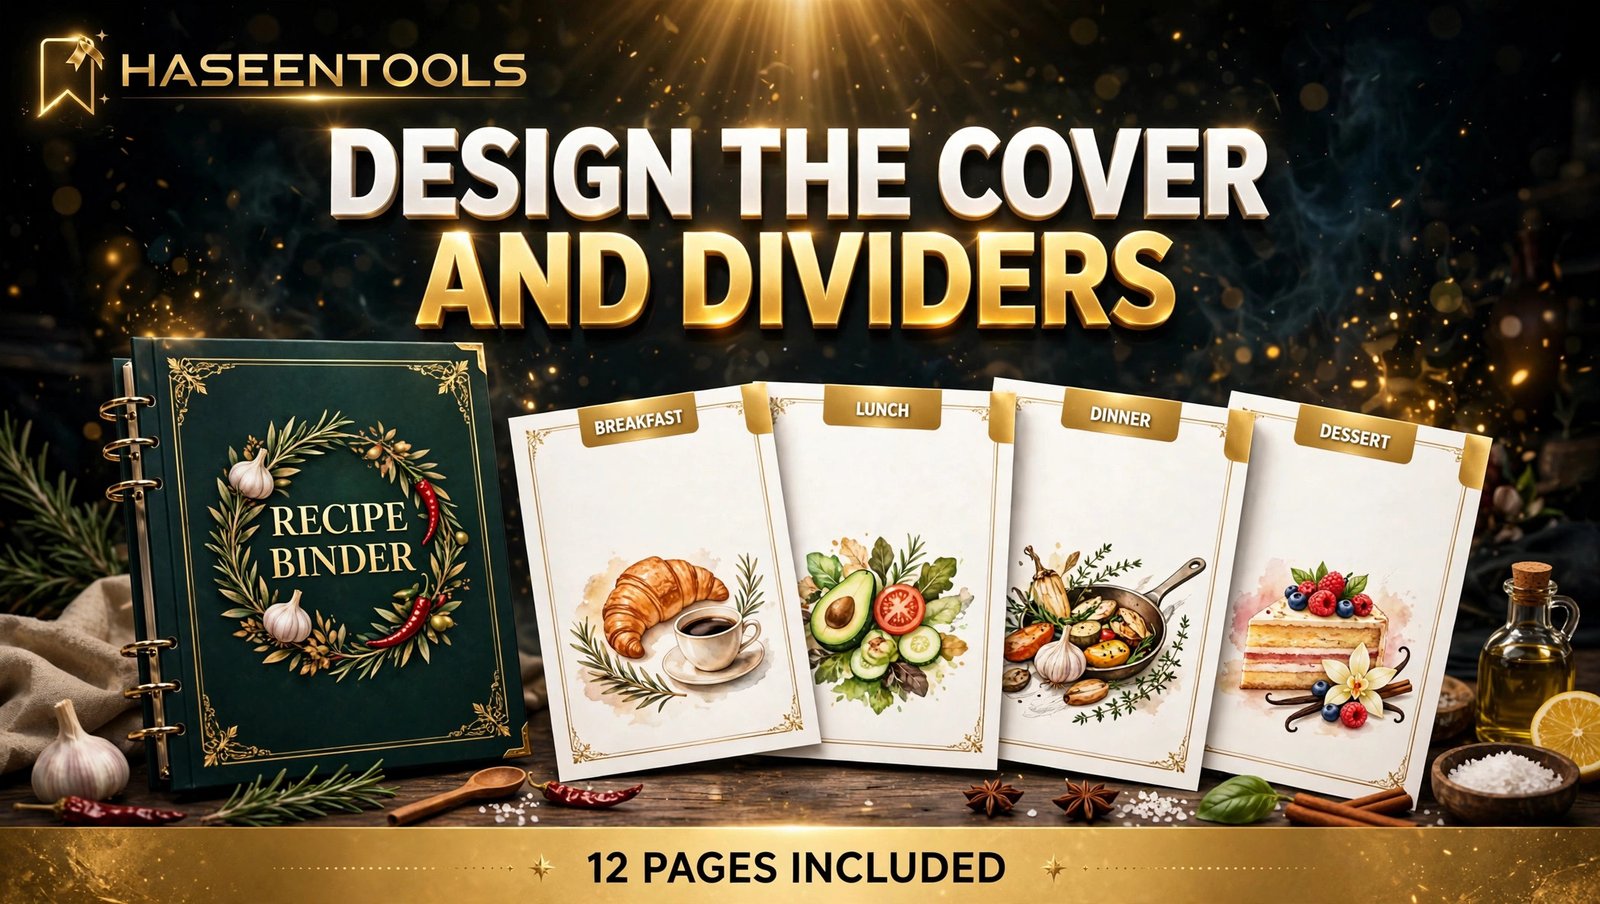
Step 3: Design the Cover and Divider Pages in Canva
What to do: Build a cover and four matching dividers that make your printable recipe binder to sell in Canva look like a real product.
Exactly how: In Canva, create a custom size of 8.5 by 11 inches and design the cover first: a big title, a small subtitle naming the buyer, and one warm food photo. Use one heading font and one body font, and no more than three colours plus black and white. Then design one divider layout — section name, tab label, and a short line saying what belongs there — and duplicate it four times, changing only the section name and colour accent.
Example: Your cover reads “Weeknight Dinners” in a warm brown heading font, above a photo of a family table. Each divider repeats the layout, with “Slow Cooker” in a soft green accent and the note: “Meals that cook while you work.”
Pro Tip: Design the divider first, then the cover. If the divider looks good, the cover almost designs itself.
Common Mistake: Using a script font for the writing areas. Pretty script is hard to read at a glance, and buyers write on these pages.
Step 4: Design the Recipe Pages and Planning Pages
What to do: Build one reusable recipe page and the two planning pages.
Exactly how: Design one master recipe page: title at the top, prep time, cook time, and servings underneath, ingredients on the left, numbered method steps on the right, and a notes box at the bottom. Keep body text at 11 points or larger. Duplicate it four times and fill in four real recipes from your theme. Then design the weekly meal plan — seven days down the left, a dinner column, and a notes box — and the shopping list, grouped by shop section. The same one-layout method works in our guide to digital recipe book templates, where every spread shares one master layout.
Example: Your recipe page holds “One-Pan Chicken and Rice” with 8 ingredients, 5 steps, and a note: “Add lemon at the end.” Your shopping list groups items under Produce, Pantry, and Dairy.
Pro Tip: Write the method steps as short commands, one action per step, and state the sign each stage is done, such as “golden at the edges”.
Common Mistake: Filling the recipe pages with decoration and leaving no room to write. A binder page that cannot hold a real recipe will not survive the first week.
Step 5: Price Your Printable Recipe Binder at $5–$9
What to do: Give your 12-page binder a fair price, and say exactly what the buyer gets.
Exactly how: Look at five similar binders and planner packs on Etsy. A focused 12-page printable recipe binder to sell in Canva usually sells for $5–$9. Price the PDF at the lower end, and charge a little more if you also include the editable template link. Make the value obvious: 12 pages, a cover, four dividers, four recipe pages, a weekly meal plan, a shopping list, a conversion chart, US Letter and A4 files, and a personal-use licence.
Example: You list the PDF binder at $7 and the PDF plus editable link at $9.
Pro Tip: Do not discount on day one. A launch discount trains buyers to wait.
Common Mistake: Pricing by guessing instead of checking the market. A $15 price looks overpriced next to similar binders, and a $2 price makes buyers wonder what is wrong with it.
Step 6: Test Print, List It, and Launch It
What to do: Print the binder on a real home printer, fix every problem, then list it where buyers already look.
Exactly how: Export a PDF Print file, then print three pages: the cover, your longest recipe page, and the shopping list. Check that no text sits too close to the edge, that the writing lines fit real words, and that the colours look right in black and white. Fix the master page first, then re-duplicate it so every page carries the fix. Then list it on Etsy or in the Haseen Tools shop, and upload at least five images: the cover, one divider, a filled-in recipe page, the meal plan, and the full binder laid out flat. On launch week, publish three pins: the cover, a filled-in recipe page, and one answering “how do you organise family recipes?” Our guide to printable recipe cards shows the same launch pattern on a smaller product.
Example: Your launch pin shows the printed binder open on a kitchen counter, captioned “Twelve pages, one tidy kitchen.”
Pro Tip: Ask your first three buyers for an honest review after they print the binder.
Common Mistake: Uploading only flat digital mockups. Buyers trust a printed binder in a real kitchen.
Recipe Binder vs Recipe Cards vs Recipe Book
| Feature | Recipe binder (12 pages) | Recipe cards (12 cards) | Recipe book (40 recipes) |
|---|---|---|---|
| Best for | Organising a whole kitchen | One recipe per card | A gift or a collection |
| Build time | One weekend | One weekend | Two to three weeks |
| Price | $5–$9 | $5–$9 | $9–$19 |
| Buyer effort | Print once, fill in | Print and cut | Print or read on screen |
Common Mistakes to Avoid
- Copying recipes word for word. Write your own versions, from recipes you have actually cooked.
- Designing pages with no room to write. If a buyer cannot fit a dish name in the title box, the page will not survive.
- Selling Canva stock elements as your product. Your binder must be your own layout and wording.
- Offering one paper size only. Buyers outside the United States often need A4. Offer both.
- Skipping the test print. Soft colours can print dark, and text that looks fine on a laptop can be unreadable on paper.
Quick Checklist
- One clear buyer, described in a single sentence.
- 12 pages planned, each with a clear job.
- Cover and four dividers in one matching style.
- One master recipe page, duplicated, with the same fonts and colours.
- Weekly meal plan and shopping list designed for real use.
- Every page test-printed and filled in by hand.
- US Letter and A4 print files both included.
- A fair price of $5–$9, the editable version a little higher.
- Listing photos show the printed binder in a real kitchen.
- Three launch pins published in the first week.
Frequently Asked Questions
Can I sell a printable recipe binder made in Canva?
Yes, if your design is your own layout and wording and you follow Canva’s licence rules. Use free elements or elements your Canva plan allows in products for sale, and sell only the finished PDF or template link.
How many pages should a printable recipe binder have?
Twelve pages make a strong first binder: a cover, four dividers, four recipe pages, a weekly meal plan, a shopping list, and a conversion chart. That is enough to feel like real value and small enough to design in one weekend.
What size should a printable recipe binder be?
Offer US Letter (8.5 by 11 inches) and A4 together. Most home printers handle one of those sizes. Test-print both and check that no text sits too close to the edge.
How do I price a printable recipe binder to sell in Canva?
Check five similar binders, then price yours in the same range. A focused 12-page binder usually sells for $5–$9, with the editable version a little higher. Start with one clear price, and adjust later based on real sales.
Conclusion
A printable recipe binder to sell in Canva works because it solves a small, daily problem: family recipes scattered across phones, notebooks, and memory. A 12-page binder, designed once and sold again and again, turns that problem into a tidy product.
- Pick one kitchen problem you understand, and plan all 12 pages of your printable recipe binder to sell in Canva first.
- Build one matching style for the cover, dividers, and recipe pages.
- Test print every page, in colour and in black and white.
- Price the binder at $5–$9, show it printed in a real kitchen, and launch with three honest pins.
Start today: write down the four sections your kitchen needs, and sketch your cover on paper. Your first binder does not need to be perfect, just useful. Browse the Haseen Tools shop for more printable templates.