

How to Create and Sell a Printable Debt Payoff Tracker in Canva: A Step-by-Step Guide

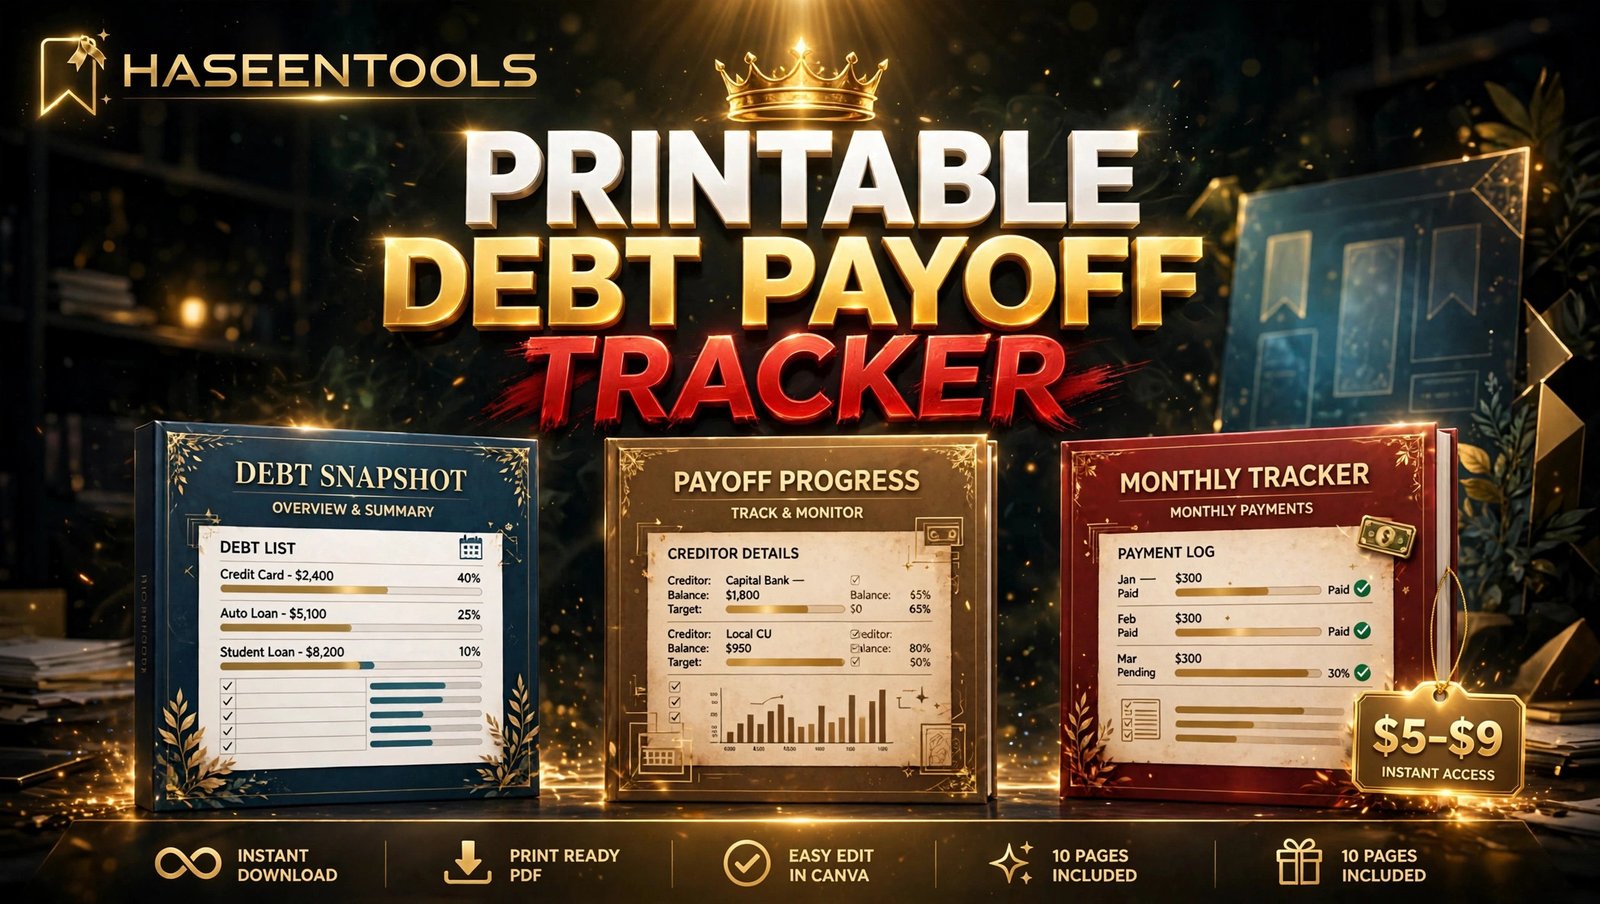
Most people paying off debt cannot say exactly how much they still owe. They know the monthly payment, but the total and the payoff date live in a banking app they avoid opening. That gap is your opportunity. A printable debt payoff tracker to sell gives buyers one calm page where every debt and every payment is visible at a glance. In this guide, you will build that 10-page tracker in Canva, price it at $5–$9 and list it.
What Is a Printable Debt Payoff Tracker?
A printable debt payoff tracker is a PDF that lists every debt in one place, records each monthly payment, and shows the balance falling to zero. It includes a debt list page, a monthly payment log and a debt-free date page buyers print at home and fill in by hand.

Why Buyers Want a Debt Payoff Tracker
Debt feels heavy partly because it feels invisible. A tracker makes it visible, and visible progress keeps people going.
First, buyers want a plan they can see. One page showing every balance and monthly payment turns a scary pile of numbers into an ordered list. Second, buyers want motivation. Colouring in a progress bar after every payment is a small reward that keeps people paying. Third, buyers want something simple — a clean page and a pen, not a spreadsheet with formulas they might break.
Here is the part most sellers miss: the buyer is not buying paper, they are buying the feeling of being in control.
Pro Tip: Add one fridge-ready page — a big progress bar with the debt-free date at the top. It is the page buyers will photograph and remember your shop by.
Step 1: Pick Your Tracker Style — Snowball or Avalanche
Every debt payoff tracker is built around one of two payoff orders — pick one as your main order, or offer both.
The snowball method lists debts from the smallest balance to the largest, so the buyer wins fast and rolls each payment into the next debt. The avalanche method lists debts from the highest interest rate to the lowest — it saves more money, but the first win takes longer.
What to do: Choose one method as your main order, then add a second debt list page for the other method, so one product serves both kinds of buyer.
Exactly how: Open Canva, create a US Letter document (8.5 × 11 inches), and sketch two list pages: a “Payoff order” column on the snowball page and an “Interest rate” column on the avalanche page.
Example: With a $400 store card, a $1,200 credit card and a $6,000 loan, a buyer attacks the $400 card first on the snowball page — but the credit card first on the avalanche page if its rate is highest.
Pro Tip: Label the two pages “Snowball order” and “Avalanche order” so buyers never mix them up.
Step 2: Design the Debt List Page
The debt list page is the heart of the product — the page buyers open first — so it must be calm and easy to fill in by hand.
What to do: Build one page with a table that holds up to 8 debts. Give each row room to write, and keep the columns to the essentials.
Exactly how: In Canva, add a table with these columns: creditor, total balance, interest rate (APR), minimum payment, monthly target and paid this month. Use 11–12 pt text so handwriting fits.
Example: A buyer writes “Visa — $1,200 — 22% — $35 minimum — $100 target”. In one line they see what they owe, what it costs and what they plan to pay.
Pro Tip: Add a “Total debt” box at the bottom. Buyers write the total in big numbers and update it every month.
Step 3: Build the Monthly Payment Tracker
A debt list shows the starting point. A monthly tracker shows the journey — the page buyers return to again and again.
What to do: Design a 12-month payment log — one row per month, one column per debt — plus a running total column.
Exactly how: Make a grid with 12 rows (January to December) and columns for each debt plus “Total paid this month” and “Remaining balance”. Keep grid lines light grey and add a checkbox at the end of each row.
Example: A buyer pays $100 extra in March and writes it in the March row. By June, the “Remaining balance” column shows the total down by $600.
Pro Tip: Put a thin progress bar under each month’s row. Buyers shade it in as they pay, and by December the page shows a year of wins.

Step 4: Add a Debt-Free Date Page
This page turns your tracker from a record into a goal — it gives buyers a finish line.
What to do: Create a page with a big “My debt-free date” box at the top and a milestone list below it.
Exactly how: Leave the date box blank with a dotted line. Below it, add 6 milestone rows — “25% paid off”, “50% paid off”, “75% paid off” and “Debt-free!” — each with a date line and a checkbox. Keep the layout airy.
Example: Paying $250 a month clears a $3,000 total in 12 months, so a buyer writes a date 12 months away in the box — and every milestone ticked brings it closer.
Pro Tip: Add “You are closer than you think” in small text under the date box — buyers love it.
Step 5: Price It at $5–$9 and Package It as a 10-Page PDF
A good tracker at the wrong price will not sell. Price a printable debt payoff tracker to sell between $5 and $9, where buyers decide in seconds, and package it so it feels worth more than it costs.
What to do: Build the final product as a 10-page PDF: cover, both debt list pages, monthly payment tracker, debt-free date page, progress bar page, notes page, weekly check-in, celebration page and a “how to use” page.
Exactly how: In Canva, design all 10 pages in one file, then export as PDF Print. Name the file clearly, for example “debt-payoff-tracker-10-pages.pdf”. Write a short listing description naming the page count, the two payoff methods and the print size (US Letter and A4). Offer a personal-use licence only.
Example: A $7 listing that says “10 pages, snowball and avalanche versions, US Letter + A4, instant download” answers every buyer question up front.
Pro Tip: Show the debt list page in your listing photos, not just the cover — buyers buy the inside pages.

Step 6: List It and Market It in One Afternoon
Your tracker is built. Now put it where buyers can find it.
What to do: List the PDF on your own shop first, then on one marketplace such as Etsy, with the keyword near the start of the listing title. Share it on Pinterest the same day.
Exactly how: On your shop, create the product with the PDF attached, price it at $7, and add 3 listing photos: the cover, the debt list page and the monthly tracker page. On Pinterest, make 2 pins — cover and debt list page — linked to the product page, with titles that name the buyer: “Debt payoff tracker printable for your fridge” beats “Printable tracker PDF”.
Example: A seller who lists on Monday morning and pins twice that afternoon often sees the first sale within the week, because Pinterest keeps showing the pin long after listing day.
Pro Tip: Offer a free one-page sample — just the debt list page — as a lead magnet. Buyers try it and come back for the full 10 pages.
Snowball vs Avalanche: Which Order Should Your Tracker Use?
| Feature | Snowball method | Avalanche method |
|---|---|---|
| Debts ordered by | Smallest balance first | Highest interest rate first |
| First win comes | Fast — small debts clear quickly | Slower — big, costly debts first |
| Best for buyers who need | Motivation and quick wins | The cheapest route to zero |
Lead with the snowball method, but include the avalanche page too — one extra page doubles the buyers your product fits.
Common Mistakes to Avoid
- Cramming too many columns into the debt list. If buyers cannot write in the boxes, they will not use the page.
- Forgetting the A4 size. Many buyers outside the US print on A4 — export both sizes.
- Pricing it like a course. A 10-page printable at $25 will sit unsold — the $5–$9 range is where buyers say yes.
- Hiding the inside pages. A cover-only listing asks buyers to trust you blindly — show the debt list and monthly tracker pages.
- Skipping the licence note. State plainly that the tracker is for personal use only.
Quick Checklist
- ☐ Debt list page with 8 rows and a total-debt box
- ☐ Snowball and avalanche versions included
- ☐ 12-month payment tracker with running total
- ☐ Debt-free date page with milestones
- ☐ 10 pages total, US Letter + A4
- ☐ Price set between $5 and $9
- ☐ Listing photos show the inside pages
- ☐ Personal-use licence stated in the listing
- ☐ 2 Pinterest pins published on launch day
Frequently Asked Questions
How many pages should a printable debt payoff tracker have?
A 10-page tracker is the sweet spot. It covers the debt list, both payoff orders, the monthly log and the debt-free date page, without feeling bloated. Fewer than 6 feels thin for a paid product; more than 15 makes buyers wonder if they will use it all.
Is a printable debt payoff tracker a good product to sell?
Yes, for beginners it is one of the friendlier planner products. The design is mostly tables and checklists, so you can build a printable debt payoff tracker to sell in Canva in an afternoon. The audience is large — anyone paying off a card, a loan or a store account — and the product stays useful for months, which brings repeat buyers.
Snowball or avalanche — which should my tracker lead with?
Lead with the snowball method — most buyers know it and quick wins keep them motivated. Then include an avalanche version of the debt list page in the same pack, so the product fits twice as many buyers.
What size should I make a debt payoff tracker printable?
Design for US Letter first, then export an A4 version too. Most US buyers print on Letter, while buyers in the UK, Europe and Australia print on A4. Offering both sizes removes the most common pre-sale question.
Conclusion
A printable debt payoff tracker to sell is a small product with a big job: it turns a stressful pile of debts into a visible, finishable plan. Pick the payoff pages, design a clear debt list, add a 12-month log and a debt-free date page, package it as a 10-page PDF, and price it at $5–$9.
- Start with the buyer: control, quick wins and a finish line.
- Keep it simple: 10 pages, 6 columns, two payoff orders — that is the whole product.
- Price for a yes: $5–$9 is where buyers stop thinking and start downloading.
- Show the inside pages: buyers buy the debt list, not the cover.
Ready to build yours? Open Canva, start with the debt list page from Step 2, and have your first tracker listed before the day is out. Then browse the Haseen Tools shop for more printable ideas, and read our guides on digital budget planners and printable savings challenge trackers to grow your planner range. Our habit tracker in Google Sheets guide shows the same approach in spreadsheet form.