

How to Create and Sell a Printable Homeschool Planner in Canva: A Step-by-Step Guide

A homeschool mum plans her week on Sunday night, and by Tuesday the plan has already fallen apart. The maths lesson ran long and nobody can find the reading log. She is not looking for a course. She wants ten clear pages she can print tonight and use tomorrow morning.
That is exactly why a printable homeschool planner to sell is such a strong first product. One small set solves one real weekly problem and can be sold over and over as a download. You do not need to be a teacher or a designer — just one planning pain, one consistent page style, and a file that prints cleanly at home.
This guide gives you the full process in six steps — follow it once, and you will have a finished 10-page planner you can list with confidence.
But here is the part most people miss: the planners that sell best are rarely the prettiest — they are the clearest.
What Is a Printable Homeschool Planner to Sell?
A printable homeschool planner to sell is a digital PDF set of planning pages that homeschooling parents print at home — usually 10 pages covering one week of lessons, schedules, and records — sold as a download with a personal-use licence.
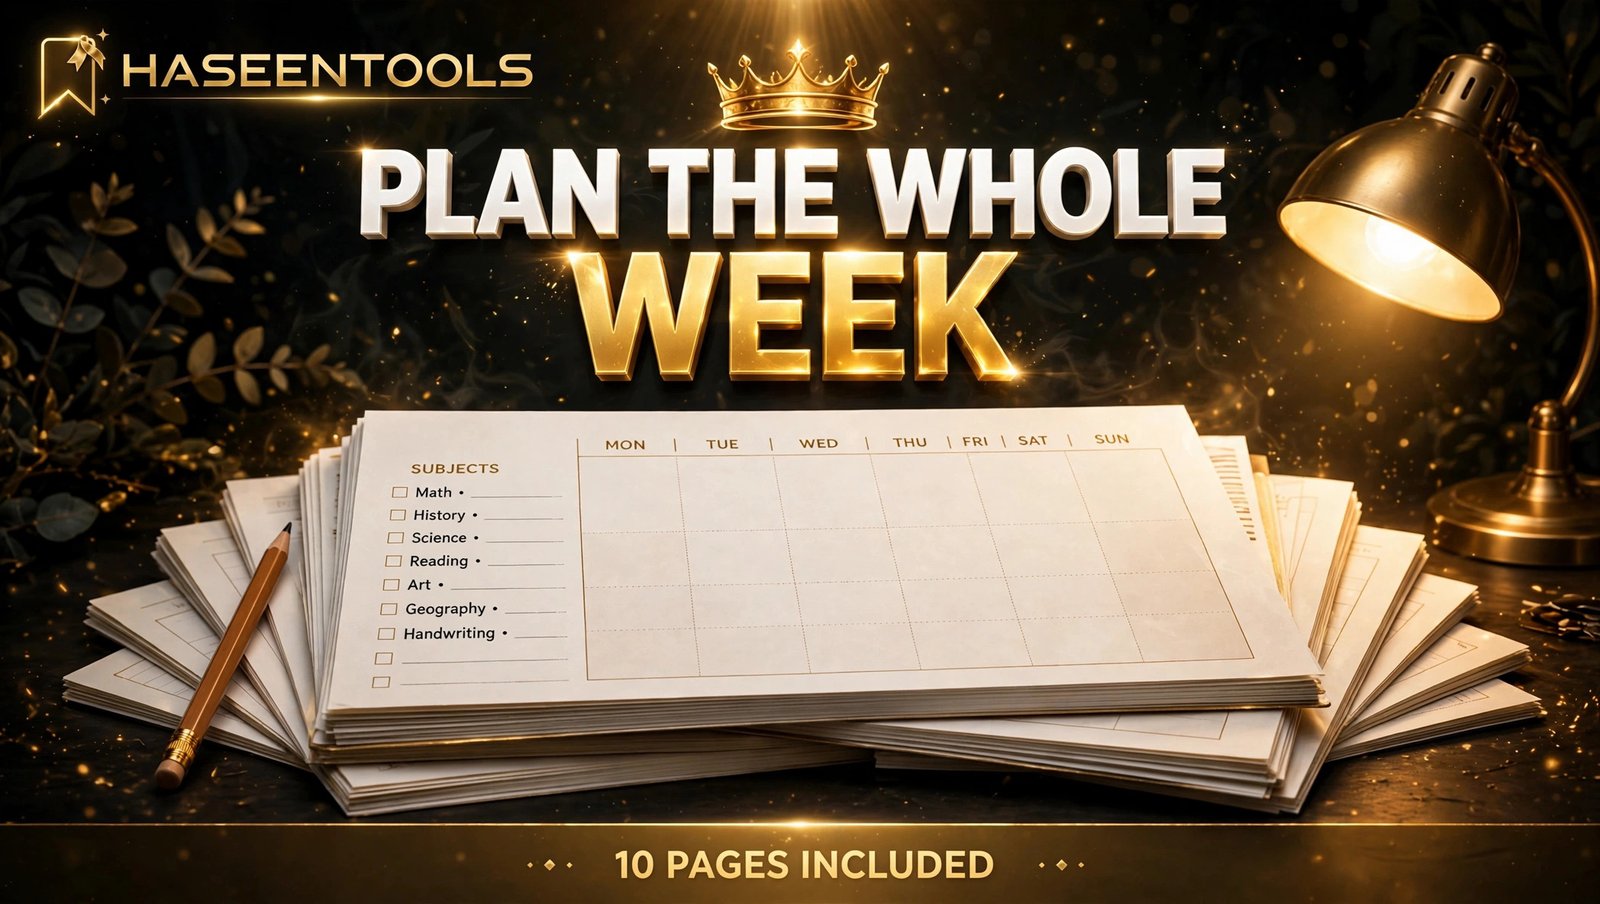
A good planner covers one family’s week, not a whole school year. Weekly lesson plans, a daily schedule, an attendance tracker, a reading log, and a grades page are enough. A set that tries to plan every subject, every child, and every month at once becomes a binder nobody finishes.
Most buyers are homeschooling mums with one to three children, usually ages 5 to 12. Your job is to make their routine easy: large writing boxes, clear headings, and lines they can actually write on.
One page, one job. That single rule will put your planner ahead of most of the listings you will see.
Step 1: Pick One Homeschool Family and One Planning Pain
What to do: Choose one family type and one planning pain before you open Canva — a planner for a mum with a 7-year-old and one for a mum with three teenagers are different products.
Exactly how: Pick one family shape: one child ages 5 to 8, two children ages 6 to 10, or a larger mixed-age family. Then pick one pain that family says out loud, such as “I never know what we did last week” or “mornings fall apart before 10 a.m.” Search that pain on Etsy and study the top 20 results. If at least three listings have strong reviews and clear preview images, real buyers exist. Example: “Weekly Homeschool Planner Ages 6–8: Lesson Plans, Schedule & Reading Log” tells a buyer the age, the week, and the pages in one line. “Beautiful Homeschool Planner” tells her nothing, and she scrolls past it.
Pro tip: Check Pinterest saves for your phrase before you commit — high saves plus modest competition is the green light for a first set.
Step 2: Map Your 10-Page Planner Before You Design
What to do: Write the full page list before you design page one — ten pages is the sweet spot.
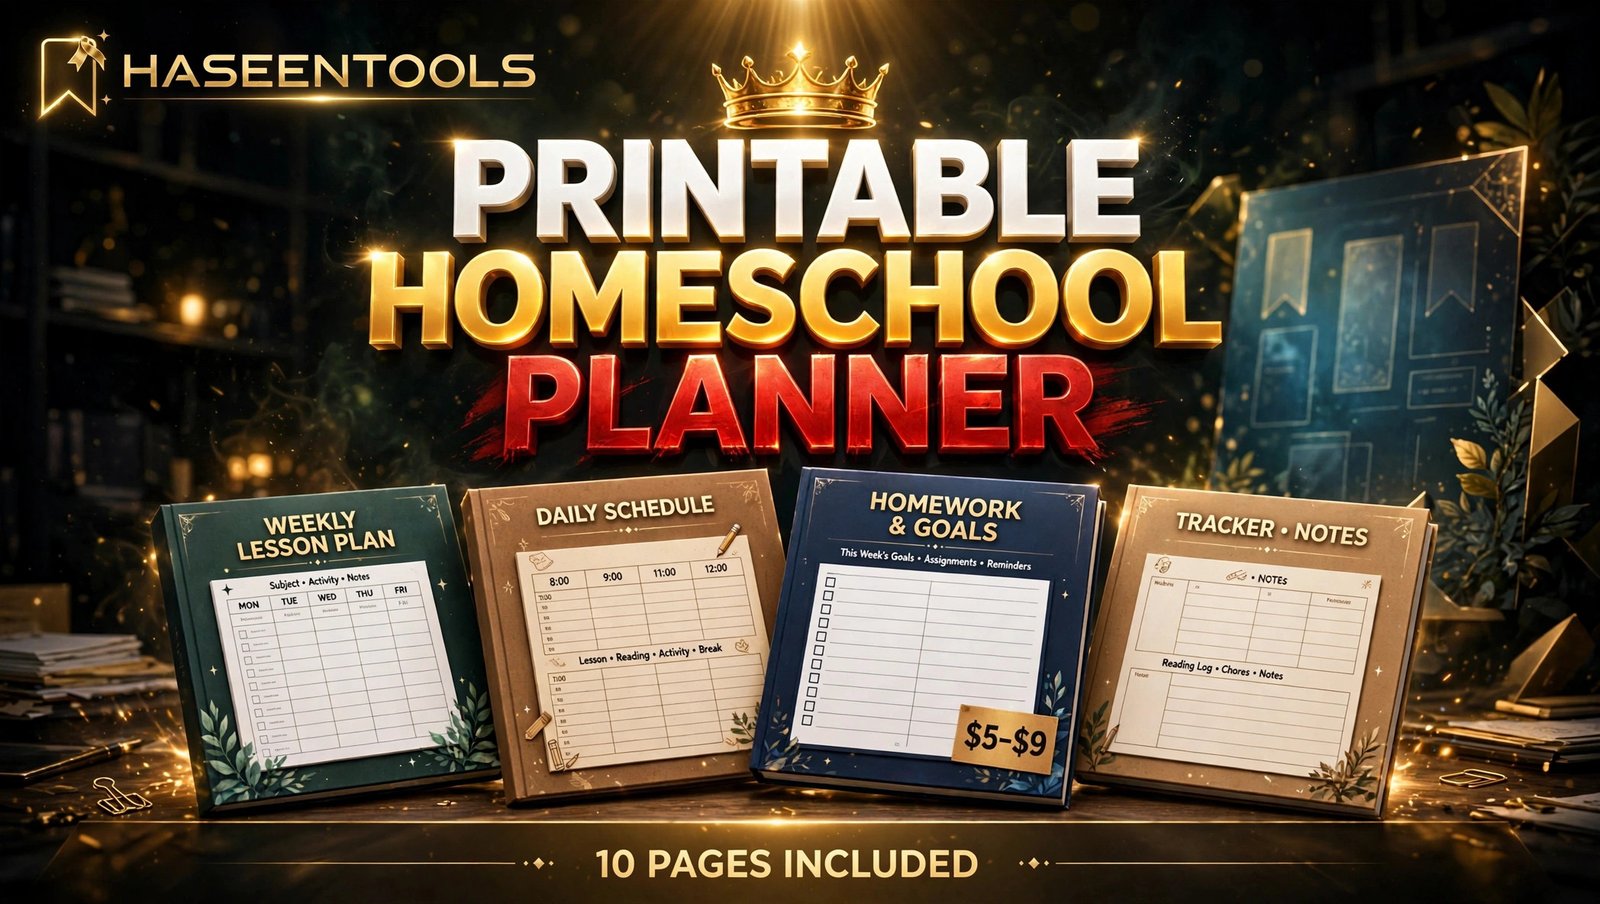
Exactly how: List these ten pages in order: (1) weekly lesson plan, (2) daily schedule, (3) attendance tracker, (4) curriculum tracker, (5) reading log, (6) field trip planner, (7) grades tracker, (8) weekly meal plan, (9) chores and habits page, (10) yearly overview calendar. Note what a mum writes on each page. If a page needs more than one sentence to explain, it is doing two jobs — split it or cut it.
Example: The weekly lesson plan holds five days across the top and four subjects down the side. The reading log holds 20 rows: date, book, pages read, and one star rating. The same one-page-one-job rule keeps printable worksheets useful in real classrooms too.
Pro tip: Ask one homeschool mum to read your page list aloud — if she pauses, fix that page before you open Canva.
Step 3: Design a Page System, Not 10 Separate Pages
What to do: Lock the page system before you design page one: size, table style, colours, and fonts. Every page must look like it belongs in the same family.
Exactly how: In Canva, create a custom size of 2550 by 3300 pixels for a US Letter page. Put the page title at the top, the main table in the middle, and a small footer line at the bottom. Use three colours only: one soft background, one dark heading colour, and one warm accent. Use one font for headings and one for labels, and leave a 60-pixel safe margin on every side.
Example: A weekly lesson plan shows “This Week’s Lessons” at the top, a five-column table below it, and a small “Notes” box at the bottom. The reading log follows the same layout exactly.
Pro tip: Make a one-page style guide with your colours, fonts, and one finished page, and keep it open while you work.
Step 4: Build All 10 Pages From One Canva Template
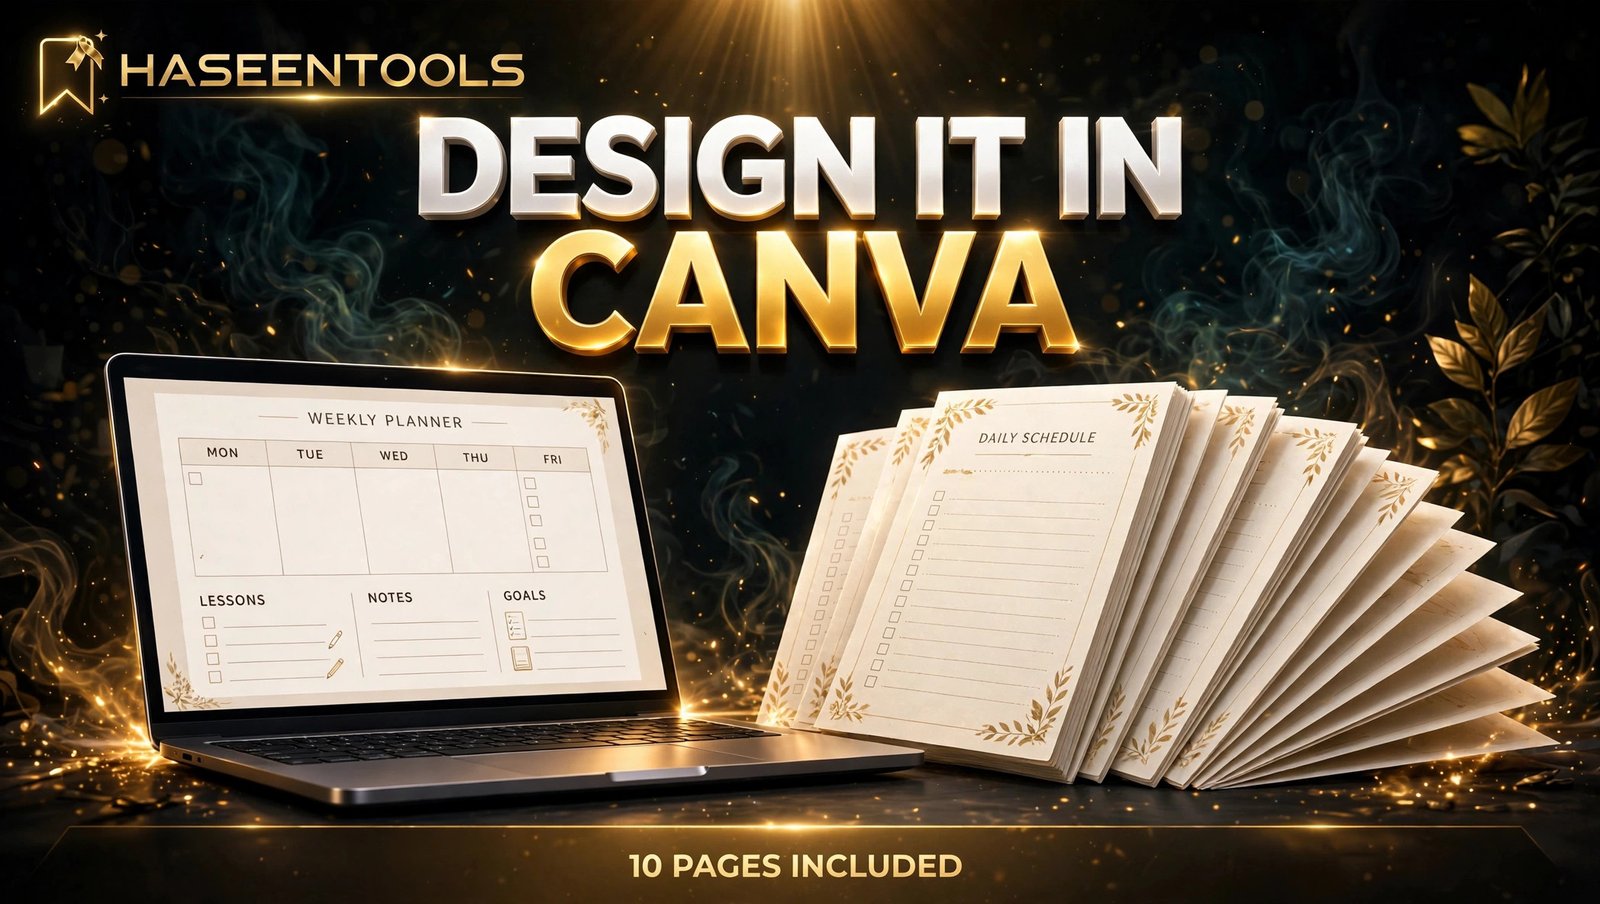
What to do: Build one finished page, duplicate it, and change only the table and title — never start from a blank canvas.
Exactly how: Design the weekly lesson plan page first, footer included. Then duplicate it nine times and swap the title and table on each copy, working down your page list from Step 2. Add a cover page and a one-page “how to use” sheet at the front, then check every page at full size before you export.
Example: A 10-page set takes about four hours in Canva once the template is ready: 30 minutes for the list, two hours to build the pages, and 90 minutes to check them. Without a template, the same set takes a full weekend. The same template-first method works for other kids’ printables — our guide to creating and selling digital colouring books uses the same repeatable-page system.
Pro tip: Print one full set and fill in a real week by hand — one test print catches every screen illusion.
Step 5: Price It at $5–$9 and Package It for Instant Download
What to do: Price inside the proven band for a single printable set, and package it so a buyer prints in minutes.
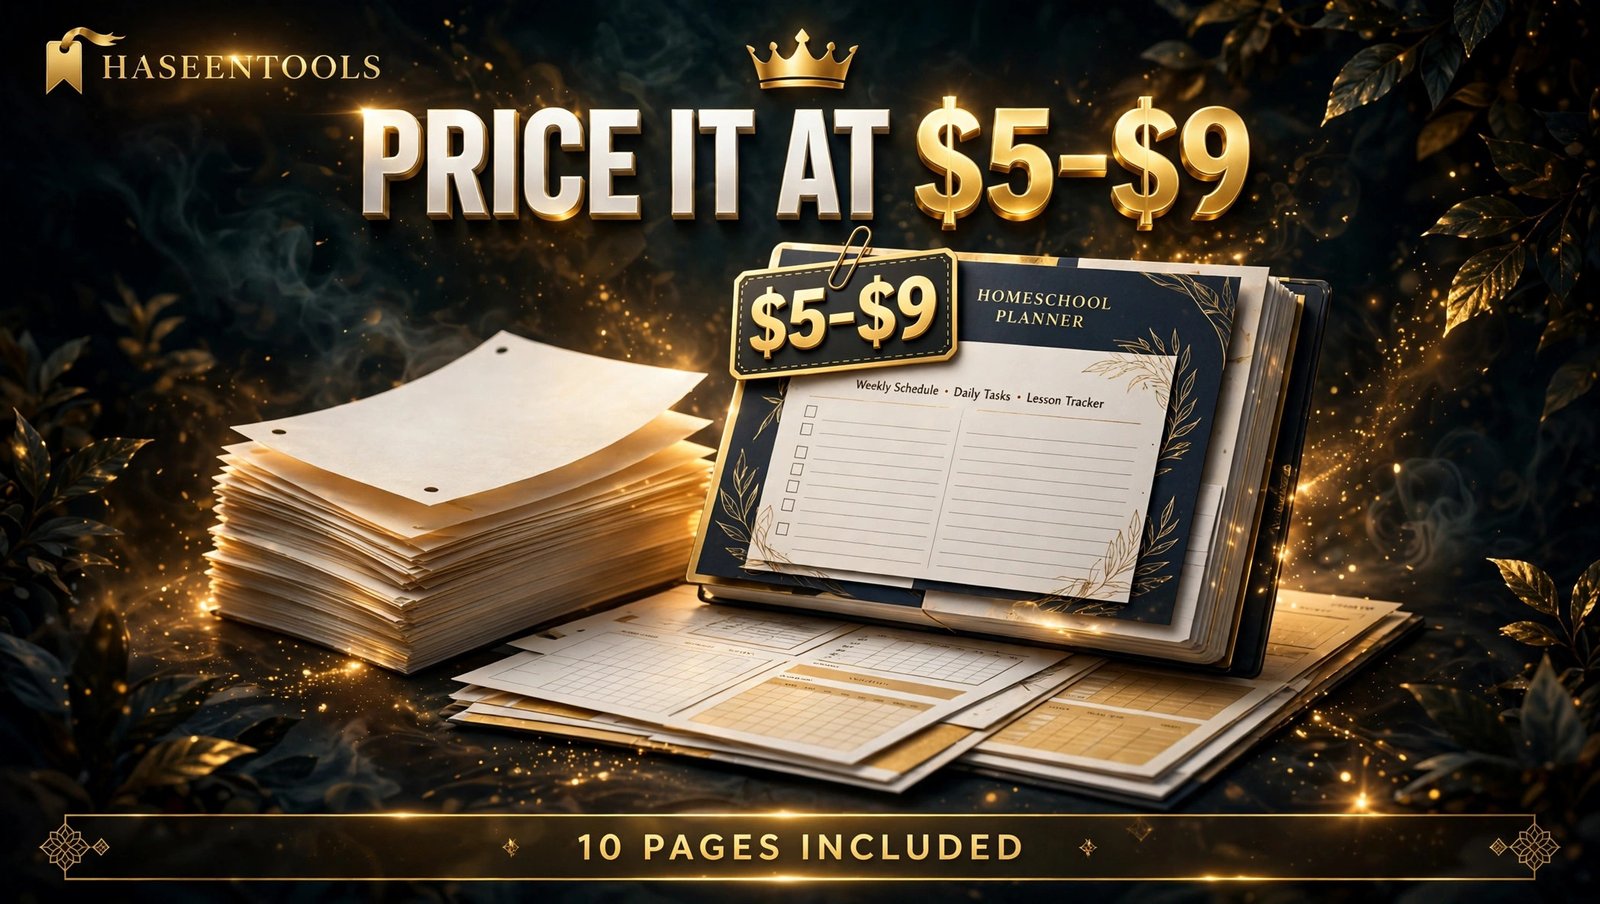
Exactly how: Price a single 10-page set at $5–$9, or $10–$15 for a bundle of two sets in the same style. Export as PDF Print at 300 DPI in US Letter size (2550 by 3300 pixels) and duplicate the file at A4 size (2480 by 3508 pixels). Zip both PDFs with your cover page and instructions sheet, and name every file clearly, for example “Homeschool-Planner-A4.pdf”. State the personal-use licence in the listing: buyers may print for their own family, not resell or share the file.
Example: A listing titled “Printable Homeschool Planner | 10 Pages | Weekly Lessons, Schedule & Reading Log” tells a searching mum the format, the pages, and the age before she clicks.
Pro tip: Offer an editable Canva template link as a deluxe version for $2 more — some buyers want to change a subject name, and that small extra earns real money.
Step 6: List It, Launch It, and Earn Your First Reviews
What to do: List the planner where homeschool parents already search, launch with a small push, and improve only what buyers tell you.
Exactly how: List a printable homeschool planner to sell on your own website and on a marketplace such as Etsy. Open with the audience and the outcome: “Printable homeschool planner for one child ages 6 to 8 — 10 pages, print at home in US Letter and A4.” List every page by name, state that it is a digital download with no physical item shipped, and add the personal-use licence line. Use keyword-rich tags such as “printable homeschool planner” and “homeschool lesson planner pdf”. Make the first listing image a photo-style mockup of the printed pages fanned out on a kitchen table. Launch with three Pinterest pins and a 10% coupon for the first 48 hours.
Example: If a buyer asks whether the planner works for two children, add the answer to the listing, not just to a reply.
Pro tip: Keep a version note inside the file, such as “v1.1 — larger writing boxes”, because buyers trust a seller who improves a product.
Which Planner Format Should You Sell First?
| Format | Pages | Best for | Price guide |
|---|---|---|---|
| Weekly lesson planner | 10 | One child, ages 5 to 8 | $5 to $9 |
| Daily schedule pack | 8 | Mums who plan day by day | $4 to $7 |
| All-in-one family bundle | 20 | Two or more children | $10 to $15 |
The 10-page weekly planner is the best first product: easiest to design, easiest to explain, and easiest for a buyer to start using tonight.
Common Mistakes to Avoid
- Tiny writing boxes. Anything a mum cannot write in with a normal pen will not be used twice.
- Mixed page styles. Different fonts and colours on every page look stitched together.
- No print margins. Pages that clip on home printers feel broken — leave the safe margin.
- Publishing only one paper size. Half your buyers print A4 and half print US Letter.
- Skipping the test print. Screens hide pale colours and thin lines — one home printout catches them all.
Quick Checklist
- One family and one planning pain chosen, checked on Etsy and Pinterest
- 10-page list written, each page doing one job
- Page system locked: size, layout, three colours, two fonts, safe margin
- 10 pages built from one template, read aloud in order
- Cover page and how-to-use sheet included
- PDF Print files at 300 DPI in US Letter and A4, zipped under 20 MB
- Personal-use licence stated in the listing
- Priced $5–$9, or $10–$15 as a bundle
- Listing opens with audience and file list; first image is a printed-pages mockup
- One real-mum test done, worst problem fixed, version note added
Frequently Asked Questions
How many pages should a printable homeschool planner have?
Start with 10 pages. That covers one week of planning fully without padding, prints in minutes, and feels worth $5–$9 to a buyer.
What size should printable homeschool planner pages be?
Design each page at 2550 by 3300 pixels for US Letter and duplicate it at 2480 by 3508 pixels for A4, always exporting at 300 DPI.
Can I sell a homeschool planner I make in Canva?
Yes, when you use your own layouts and tables, or Canva elements covered by a licence that allows resale as part of a finished design. Do not resell Canva stock photos or illustrations unchanged, and state a personal-use licence in your listing.
Where should I sell a printable homeschool planner?
Sell a printable homeschool planner to sell on your own website and on a marketplace such as Etsy. Your own site keeps more of each sale, while a marketplace brings buyers who are already searching.
Conclusion
A printable homeschool planner to sell is one of the simplest first products you can make in Canva: a mum planning Sunday night, wanting ten clear pages for the week ahead.
- Pick one family and one planning pain, and check it on Etsy before you design
- Map ten pages that each do one job, then build them all from one template
- Price the set at $5–$9, deliver US Letter and A4 PDFs, and state the personal-use licence up front
- List it where homeschool parents search, launch with three pins, and improve only what buyers tell you
When you are ready to design your first page, start with the weekly lesson plan — it is the page your buyer opens first. Browse the ready-made planner templates at Haseen Tools and start page one tonight.