

How to Create and Sell a Printable Moving Checklist in Canva: A Step-by-Step Guide

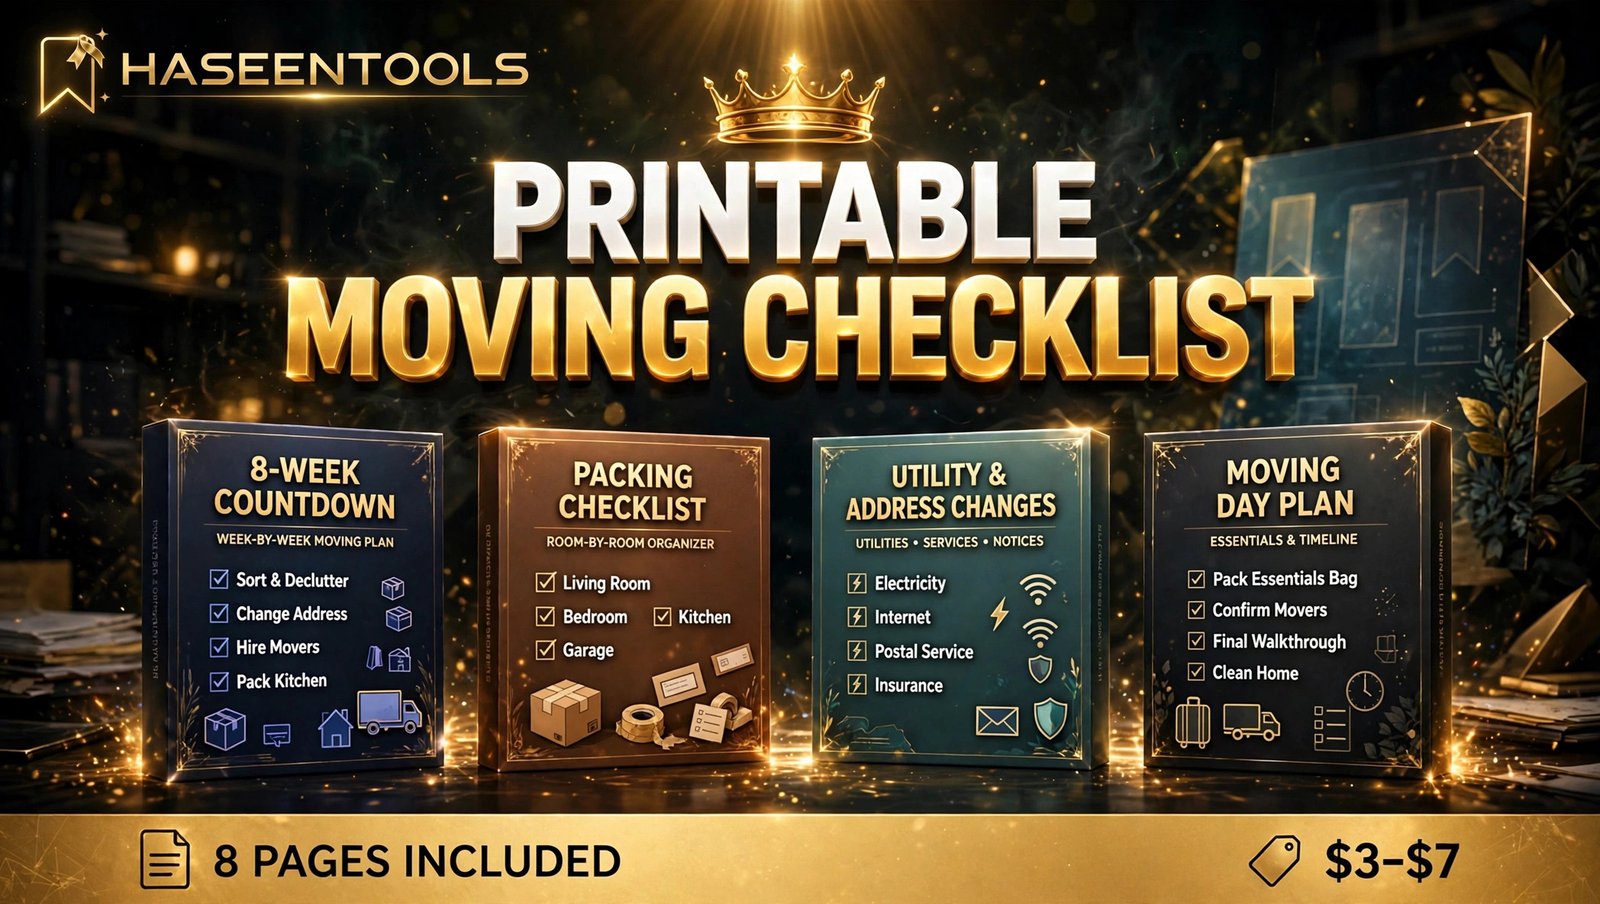
Moving day turns calm people into frazzled ones. Boxes in every room, tape running out, the kettle packed before the last cup of tea — and somewhere in the mess, the change-of-address form you forgot to send. A printable moving checklist to sell fixes this exact chaos, and you can build it in Canva in one afternoon. No design degree, no big budget, no audience needed. In this guide, you will plan, design, price and list your own 8-page checklist and get it in front of buyers who are already searching for one.
What Is a Printable Moving Checklist?
A printable moving checklist is an 8-page PDF that walks a mover through every task before, during and after moving day — booking movers, packing room by room, changing the address and setting up the new home. Buyers print it, tick off each task and stay organised through the whole move.
That is the whole product. Nothing fancy — and that simplicity is why it sells. Moving is stressful, and stressed people pay a few dollars for a plan they can hold in their hand. A renter, a family, a student: they all face the same long list of jobs.
But here is the part most people miss: the checklist is not the hard part — picking one buyer is, because a checklist for a family of five looks nothing like one for a student with two suitcases.
Step 1: Pick Your Buyer and Their Moving Timeline
What to do: Choose one type of mover and one moving timeline, then build your printable moving checklist to sell for them.
Exactly how: Write your buyer down in one sentence, then pick an eight-week timeline — long enough to feel thorough, short enough to fit on one page. Split it into four blocks: 8 weeks, 4 weeks, 1 week, and moving day.
Example: For a renter, the 8-week block starts with “give notice to your landlord” and “book movers or a van”. For a family, it starts with “tell the children’s school” and “use up freezer food”. Same page, different jobs.
Pro Tip: Pick the buyer you know best. If you have moved house yourself, write for that move — your own packing mistakes beat any keyword tool.
Step 2: Plan Your 8 Pages
What to do: Sketch all 8 pages on paper before you open Canva — a planned checklist takes half the time to design.
Exactly how: Give every page one job and a clear heading:
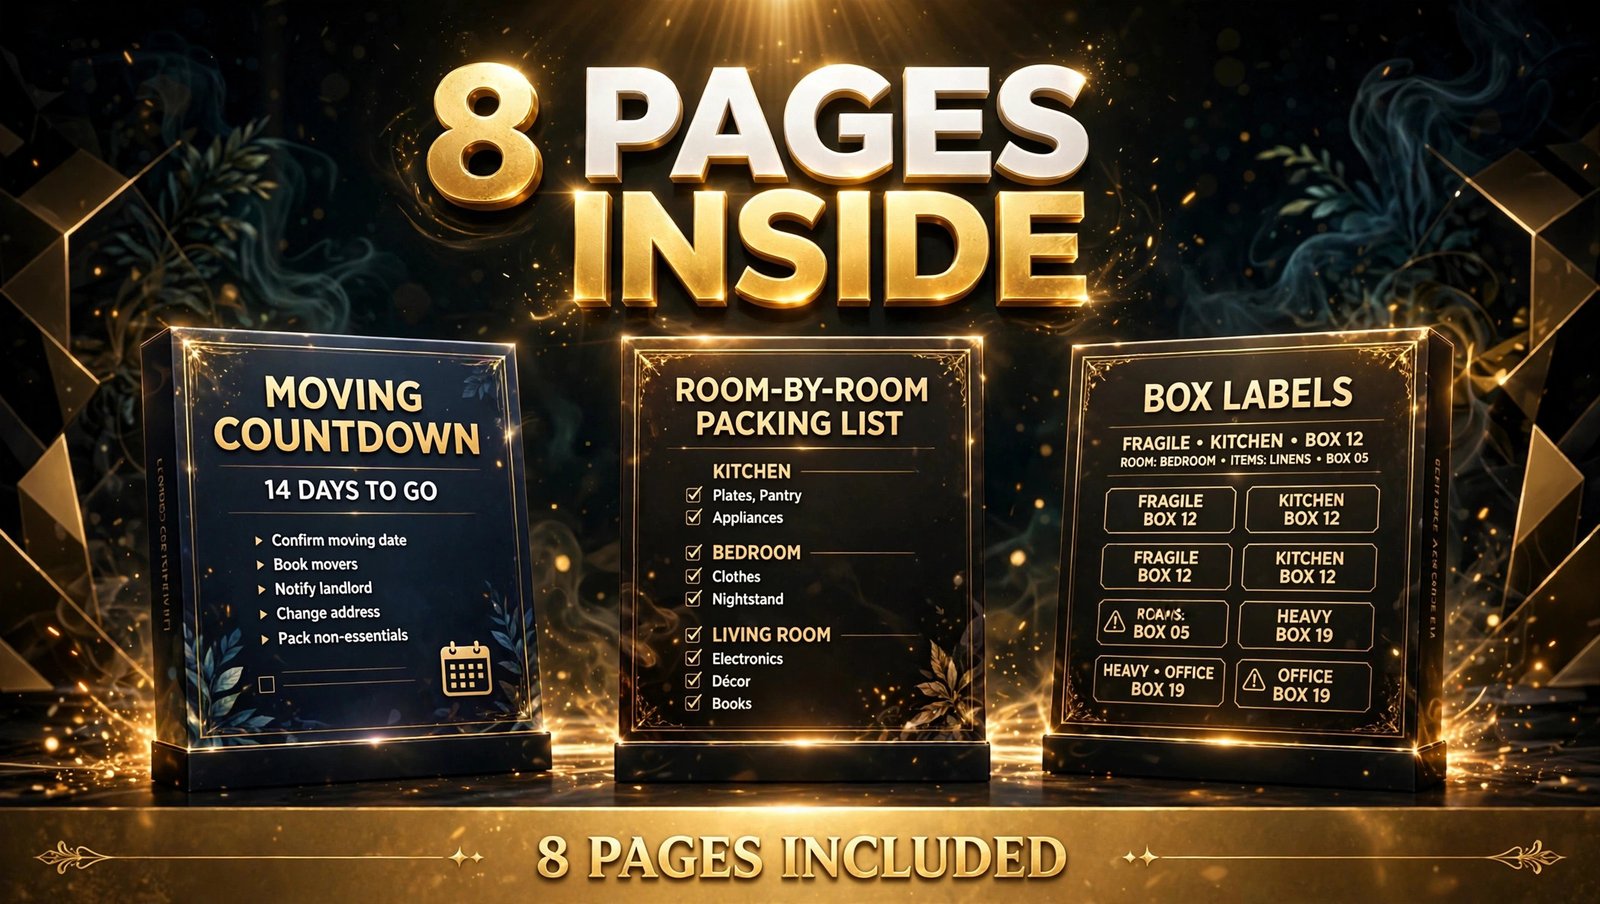
- Cover and how to use it — product name, one short line on how it works, and a “move date” box.
- 8-week countdown — tasks under 8 weeks, 4 weeks, 1 week and moving day, each with a tick box.
- Room-by-room packing list — kitchen, bedroom, bathroom and living room, with blank lines.
- Moving budget tracker — rows for movers, van hire, boxes and tape, with “planned” and “actual” columns.
- Box labels — six cut-out labels with room name and contents lines.
- Change-of-address list — bank, employer, doctor, school, subscriptions and deliveries.
- Moving-day essentials kit — the bag that travels with the buyer: charger, keys, snacks and toilet paper.
- New-home cleaning and contacts — a first clean checklist, plus landlord and utility numbers.
Example: On the countdown page, keep each block to six tasks — six fits neatly with room for a tick box beside every line; more than eight and the page feels like homework.
Pro Tip: Leave blank lines on every list page. Buyers love room for their own jobs, and it costs you nothing.
Checklists sell in series: our printable wedding checklist guide shows how one leads to the next, and a printable cleaning schedule pairs neatly with this set’s cleaning page.
Step 3: Design It in Canva
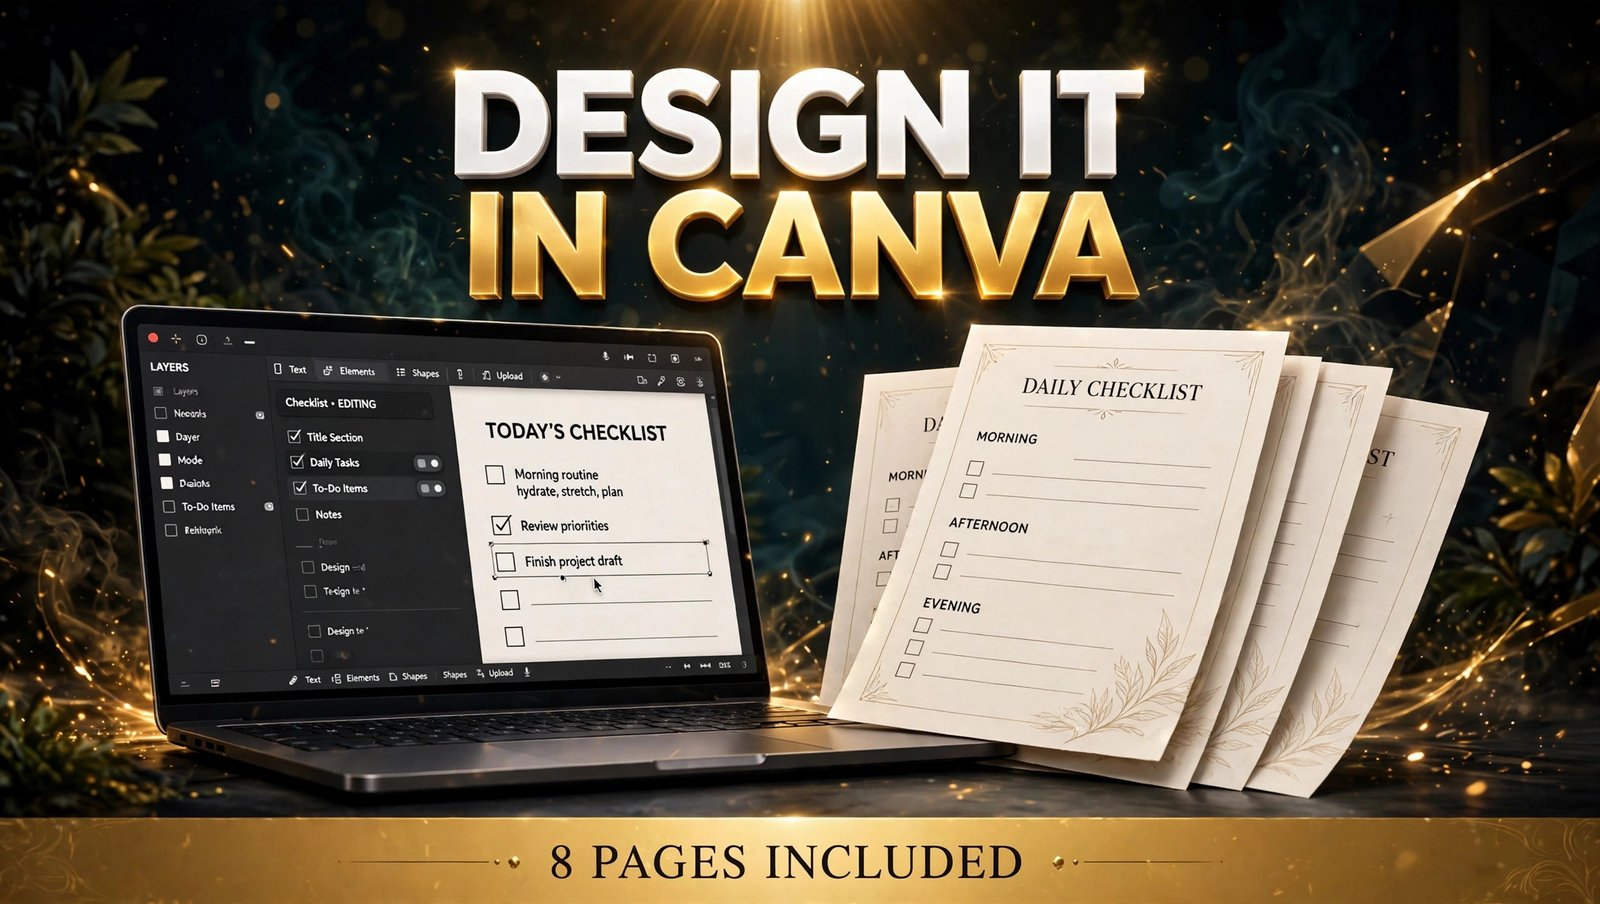
What to do: Build the 8 pages in Canva on a US Letter canvas, using free elements only.
Exactly how: Open Canva, choose “Create a design”, then “Custom size” at 8.5 x 11 inches. Turn on rulers and margins, and keep everything half an inch from the edge so home printers do not cut it off. Pick two fonts — bold for headings, plain for list items — and two or three colours plus black and white, and use the same choices on all 8 pages. Draw tick boxes as empty squares a quarter of an inch wide, and keep text at 12 points.
Example: A warm navy heading with a soft orange accent feels organised, not cold. Add one small house icon on the cover and repeat it in each page footer — a checklist should look clean, not busy.
Pro Tip: Build the countdown page first and get it right, then duplicate it and change the headings for the other list pages. You will finish the set in half the time.
Step 4: Test-Print It and Fix the Weak Spots
What to do: Print every page and fill it in by hand first. A checklist that has never been printed is a guess, not a product.
Exactly how: Export as PDF Print and print one copy at home. Work through it like a buyer: tick the boxes, write on the blank lines, cut out one box label. Check four things: the tick boxes fit a pen, the text reads at arm’s length, nothing is cut off, and the blank lines fit handwriting. Fix what fails and print only the fixed pages.
Example: Most first drafts fail the same test: the tick boxes look fine on screen but are too small on paper. If your pen does not fit, make the box bigger and drop one task from that block instead of shrinking the text.
Pro Tip: Ask one friend to fill in the countdown page with no help from you. If they pause or ask what a line means, rewrite it — confused buyers do not leave good reviews.
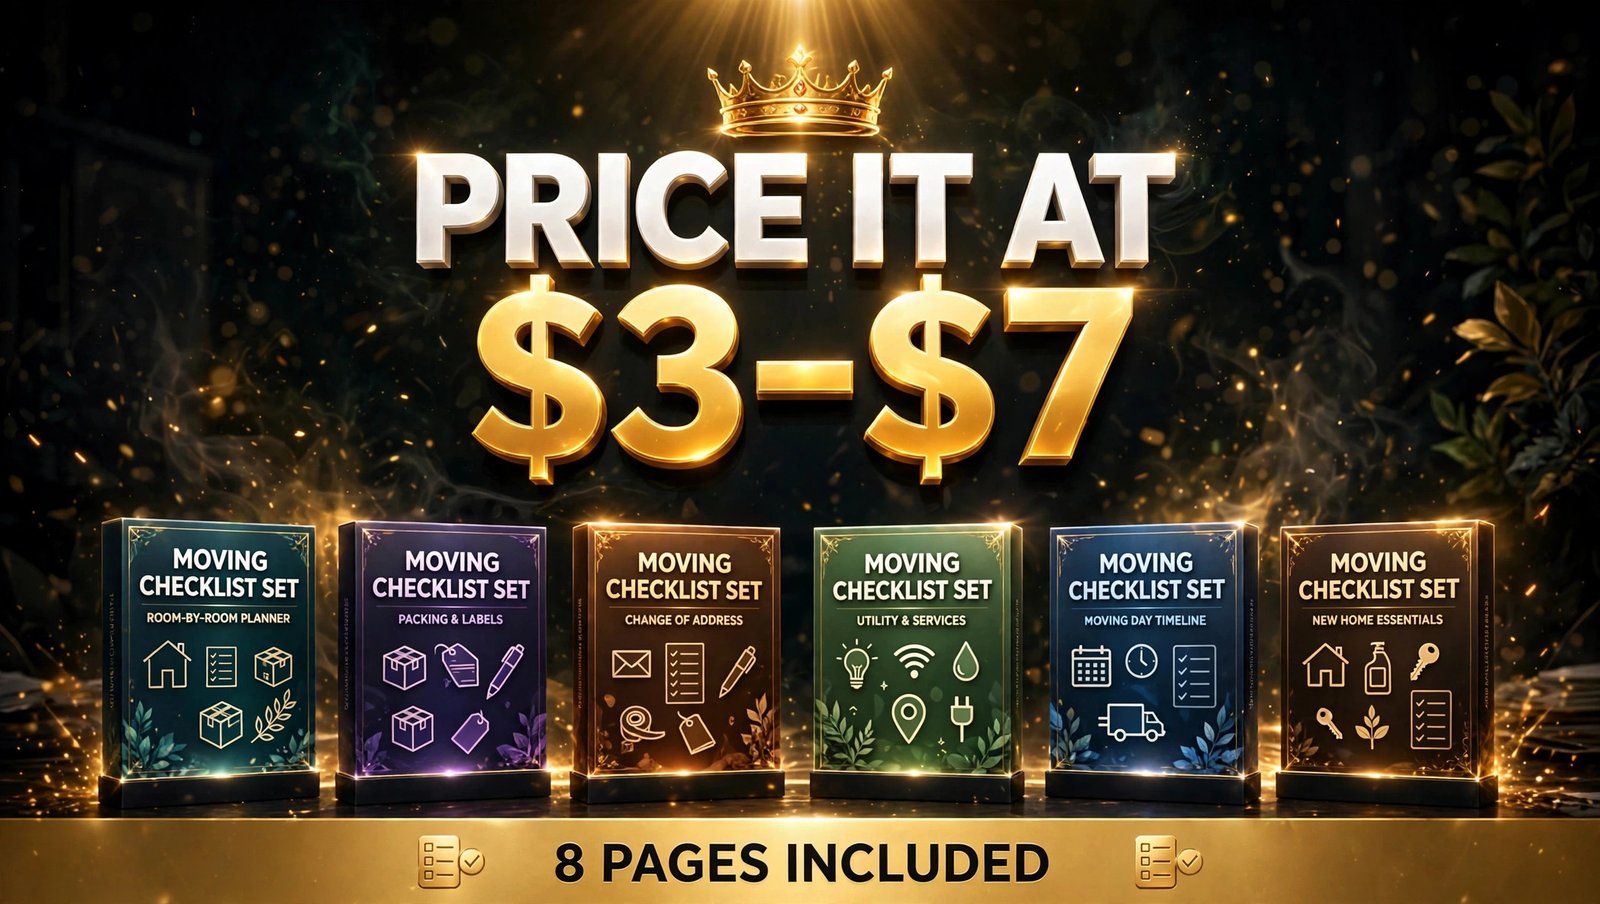
Step 5: Price It at $3–$7 and Package Your Listing
What to do: Price the set at $3–$7, then package it as a clean ZIP with a personal-use licence and clear listing photos.
Exactly how: Price your printable moving checklist to sell at $3–$7 — cheap enough to be an impulse buy, high enough to be worth your time. Export the final PDF, then make a ZIP holding the PDF and one PNG preview page. Add a licence line inside the PDF: “Personal use only — please do not share, resell or redistribute this file.” For listing photos, export three pages as PNGs in Canva and place them on a simple mockup background: the cover, the countdown and the box labels. Buyers decide in seconds.
Example: A $5 listing with the cover first, the countdown second and the box labels third tells the full story: the buyer sees the design, the detail and something they had not thought of — the labels.
Pro Tip: Name files clearly before you upload: “moving-checklist-8-pages.pdf” beats “final-v3.pdf”, and it helps buyers who download the file months later.
Step 6: List It and Promote It on Pinterest
What to do: List your printable moving checklist to sell on Etsy and your own shop, then make five Pinterest pins that send buyers to the listing.
Exactly how: On Etsy, start a new digital listing, upload the ZIP file, and write a title that starts with what buyers search: “Printable Moving Checklist — 8-Page House Moving Planner PDF”. Add 13 tags, mixing product words (moving checklist, house moving planner) with buyer words (moving house, first home). List the same product in your HaseenTools shop to keep the full sale price. For Pinterest, make five tall pins in Canva — one per page type — each linking to the product page.
Example: A pin showing the countdown page with the words “8 weeks to moving day, all planned” beats one showing only the cover. Show the inside of the product, not just the front.
Pro Tip: Pin the week before the end of the month, when leases end, vans get booked and buyers search for checklists.
Moving Checklist vs Moving Planner vs Moving Binder
Not every buyer wants the same thing — one buyer can become three products. Here is how the three compare, so you can see where your checklist sits and what to build next.
| Product | Pages | Price | Best for |
|---|---|---|---|
| Moving checklist | 8 pages | $3–$7 | First-time movers who want a simple list |
| Moving planner | 12–15 pages | $5–$9 | Families who also want budget and timeline pages |
| Moving binder | 20+ pages | $9–$15 | A big move with inventory, contacts and receipts |
The checklist is the easiest first product: fewer pages, faster to design, cheaper to buy. Once it sells, add the planner pages your buyers ask about.
Common Mistakes to Avoid
- Designing for everyone. A checklist for “all movers” helps nobody — pick one buyer.
- Tiny tick boxes. If a buyer cannot tick a box with a normal pen, the product feels broken.
- Dating the pages. Leave the year and month off — an undated checklist sells all year, and you never remake it.
- Using Pro elements in a PDF. Designs with Canva Pro content may only be sold as a template link, never as a PDF — build with free elements only.
- Skipping the test print. Screen-perfect pages can still cut off on a home printer — print it once first.
- One photo in the listing. Show the cover, the countdown and the box labels at minimum.
Quick Checklist
- Pick one buyer and an 8-week timeline
- Plan all 8 pages on paper first
- Build in Canva at US Letter size, free elements only
- Test-print every page and fix tick boxes and margins
- Price the set at $3–$7 with a personal-use licence
- Export PDF Print and bundle it in a ZIP
- List on Etsy and your own shop with 13 tags
- Make five Pinterest pins showing inside pages
FAQ
How many pages should a printable moving checklist have?
Eight pages: a cover, an 8-week countdown, a room-by-room packing list, a budget tracker, box labels, a change-of-address list, a moving-day kit and a cleaning page. It covers the whole move without overwhelming the buyer.
Can I sell a moving checklist made in Canva’s free plan?
Yes. Build your printable moving checklist to sell with free elements, your own text and your own shapes, and you can sell it as a PDF. Designs with Canva Pro content may only be sold as a Canva template link, never as a PDF — so check Canva’s licence page before you list.
How much can I charge for a printable moving checklist?
Price an 8-page set at $3–$7 — it matches similar checklists, keeps the buy an easy impulse decision, and pays you well for an afternoon of work. A longer planner can charge $5–$9, and a full binder $9–$15.
Where is the best place to sell a printable moving checklist?
List it in two places: Etsy, where buyers already search for moving checklists, and your own shop, where you keep the full sale price. Then promote it with Pinterest pins — moves happen all year, so an undated checklist keeps selling.
Conclusion
A printable moving checklist to sell is one of the simplest first products you can make: one buyer, 8 pages, one afternoon in Canva, and a $3–$7 price that buyers barely have to think about.
- Pick one buyer and build the list for their move, not for every move.
- Plan the 8 pages on paper first, so the design takes half the time.
- Test-print everything and fix the tick boxes, margins and handwriting room.
- Price it at $3–$7, list it on Etsy and your own shop, and pin the inside pages on Pinterest.
Now open Canva, sketch your 8 pages, and build the checklist today. Your first buyer is already packing boxes — give them the plan that makes moving day feel easy.