

How to Create and Sell a Printable Wedding Checklist in Canva: A Step-by-Step Guide


Three weeks before the wedding, a bride opens her notes app and finds 40 tasks scattered across screenshots, texts, and a spreadsheet. The florist still needs a final headcount, the DJ has not confirmed the playlist, and nobody has booked the transport. That panic is exactly why a printable wedding checklist to sell is such a strong first product: every engaged couple needs one, and most of them start searching for it the week after the proposal. This guide shows you how to create and sell one in Canva, in six practical steps.
What Is a Printable Wedding Checklist?
A printable wedding checklist turns a whole wedding into small, tickable jobs, ordered by due date: twelve months out, six months out, three months out, one month out, the week of the wedding, and the day itself. Buyers print it at home and tick each task off by hand.
When you make a printable wedding checklist to sell, you design the 8-page set once in Canva, export it as a PDF, and sell the same file again and again on Etsy or your own shop. The buyer gets an instant download and a calm plan; you get a product with no stock, no shipping, and no printing.

Step 1: Research What Couples Actually Tick Off
What to do: Find out which wedding jobs buyers expect on a checklist, so you build around real planning tasks instead of guessing.
Exactly how: Search “wedding checklist printable” on Etsy and open the ten bestsellers. List every task they include. You will see the same jobs everywhere: book the venue, choose the photographer, send invitations, confirm the menu, arrange transport, and write the vows. Then read the three-star reviews: they say what is missing, such as “no page for the week of the wedding” or “no space for vendor phone numbers”.
Example: If six bestsellers cover the venue and the dress but none has a day-of timeline, your checklist wins with one page: a timed run sheet from 8 in the morning to the last dance, with a blank line beside each hour.
Pro Tip: Check which checklist pages couples pin most on Pinterest — the pages they pin are the pages they buy.
Step 2: Map the 8 Pages Before You Design Anything
What to do: Sketch the full page list on paper first, so designing becomes filling a structure instead of inventing one page at a time.
Exactly how: Plan 8 pages in the order a couple will use them: cover, 12 months to go, 6 months to go, 3 months to go, 1 month to go, week of the wedding, day-of timeline, and vendor contacts with notes. Give every page one job and one clear heading, and leave white space for handwriting — cramped checklists are the top complaint in printable reviews.
Example: Your 12-months page could hold 12 tasks only: set the budget, pick a date, book the venue, choose the photographer, book the caterer, pick the dress style, start the guest list, book the band or DJ, choose the cake maker, book the florist, plan the honeymoon, and tell the wedding party. Twelve tasks fit neatly on one US Letter page with a tick box beside each one.
Pro Tip: Put the cover first and the vendor contacts last — a checklist that starts with a promise and ends with every phone number in one place feels complete.
Step 3: Design It in Canva at the Right Size
What to do: Build a clean, print-ready checklist that looks calm on paper, not crowded on screen.
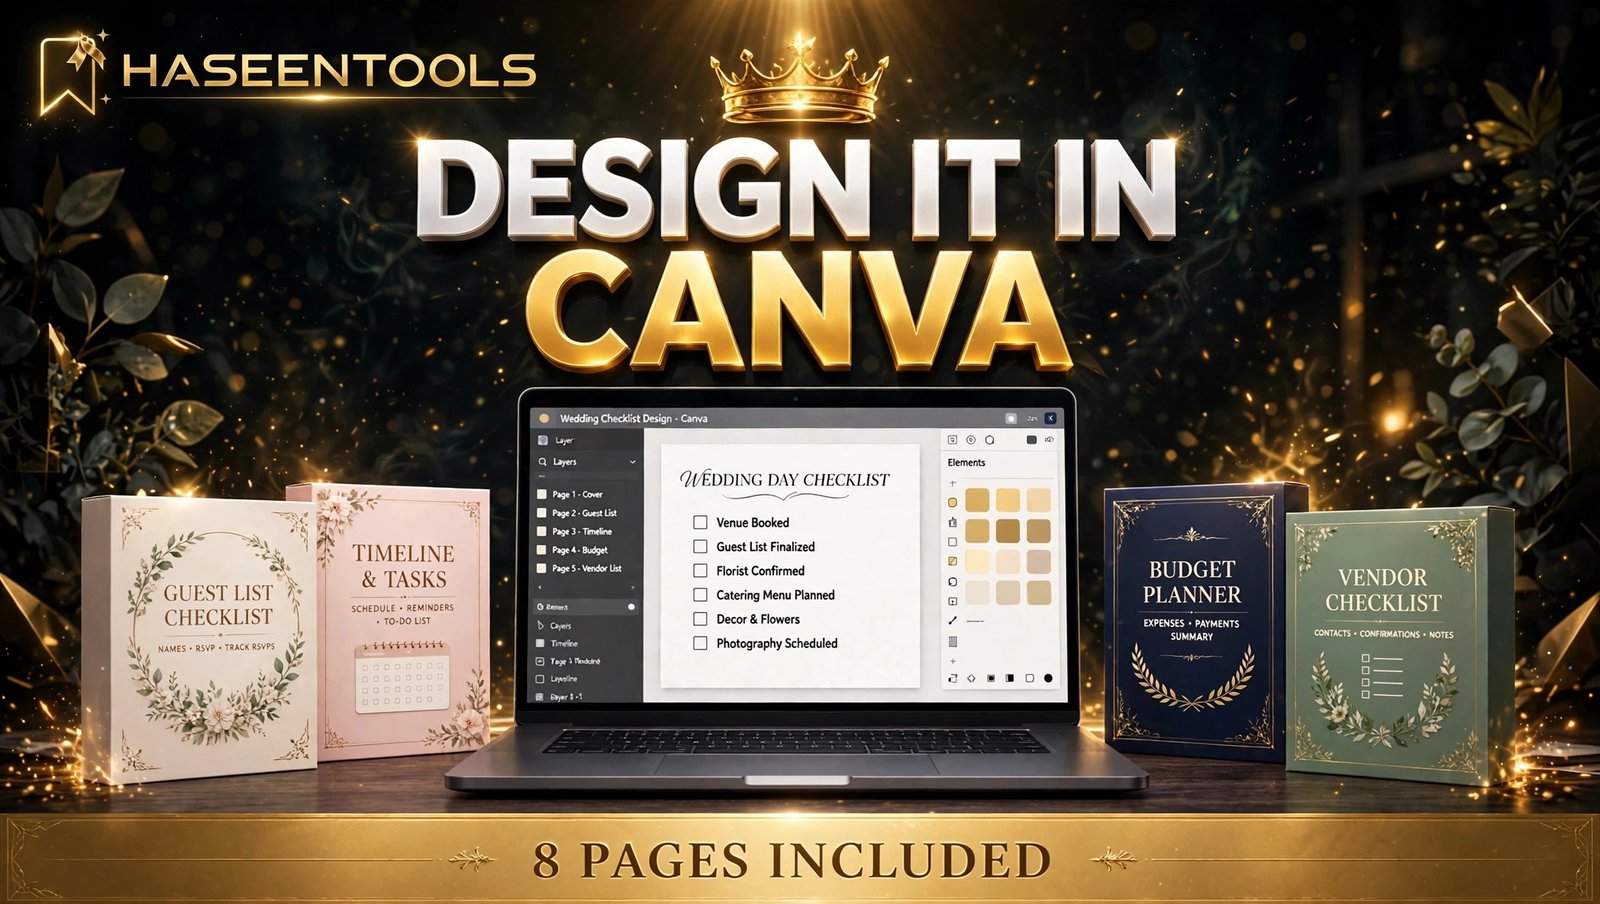
Exactly how: In Canva, create a US Letter document, 8.5 by 11 inches, with margins of at least 0.5 inches so home printers never cut off a tick box. Choose two fonts — one elegant serif for headings, one simple sans-serif for tasks — and three colours plus a neutral, such as sage, blush, cream, and charcoal. Build the 12-months page first, then duplicate its layout for the other countdown pages.
Example: A sage-and-cream layout with gold headings reads as wedding stationery, not a spreadsheet, and it takes about two hours to build once the first page is right.
Pro Tip: Test-print one page at home at 100 percent scale before you design the other seven — a tick box that prints clean once prints clean eight times.
Step 4: Make Every Task Checkable at a Glance
What to do: Give every task a tick box, a due date, and a short line for notes, so a couple always knows what is done and what is next without reading the whole page.
Exactly how: Give every task row three things: a square tick box on the left, the task in plain words in the middle, and a small “due by” line on the right. Add a thin progress bar at the top of each countdown page — “8 of 12 done” — so the couple sees progress at a glance. Keep the wording short: “Book the photographer” beats “Research and book a professional wedding photographer for the day”. Keep the type at 12 points or larger, because buyers write in the boxes by hand.
Example: A couple ticks “Send invitations” on the 3-months page, writes “Posted 14 March” in the notes line, and watches the progress bar move from 7 of 12 to 8 of 12. That small win keeps them using the checklist instead of a notes app.
Pro Tip: Add one worked example on the cover page, with three tasks already ticked — buyers copy it instead of asking how the checklist works.
Step 5: Price It at $5–$9 and List It on Etsy
What to do: Price where wedding-printable buyers already spend, and write a listing that sells the calm of a planned wedding, not just the pages.
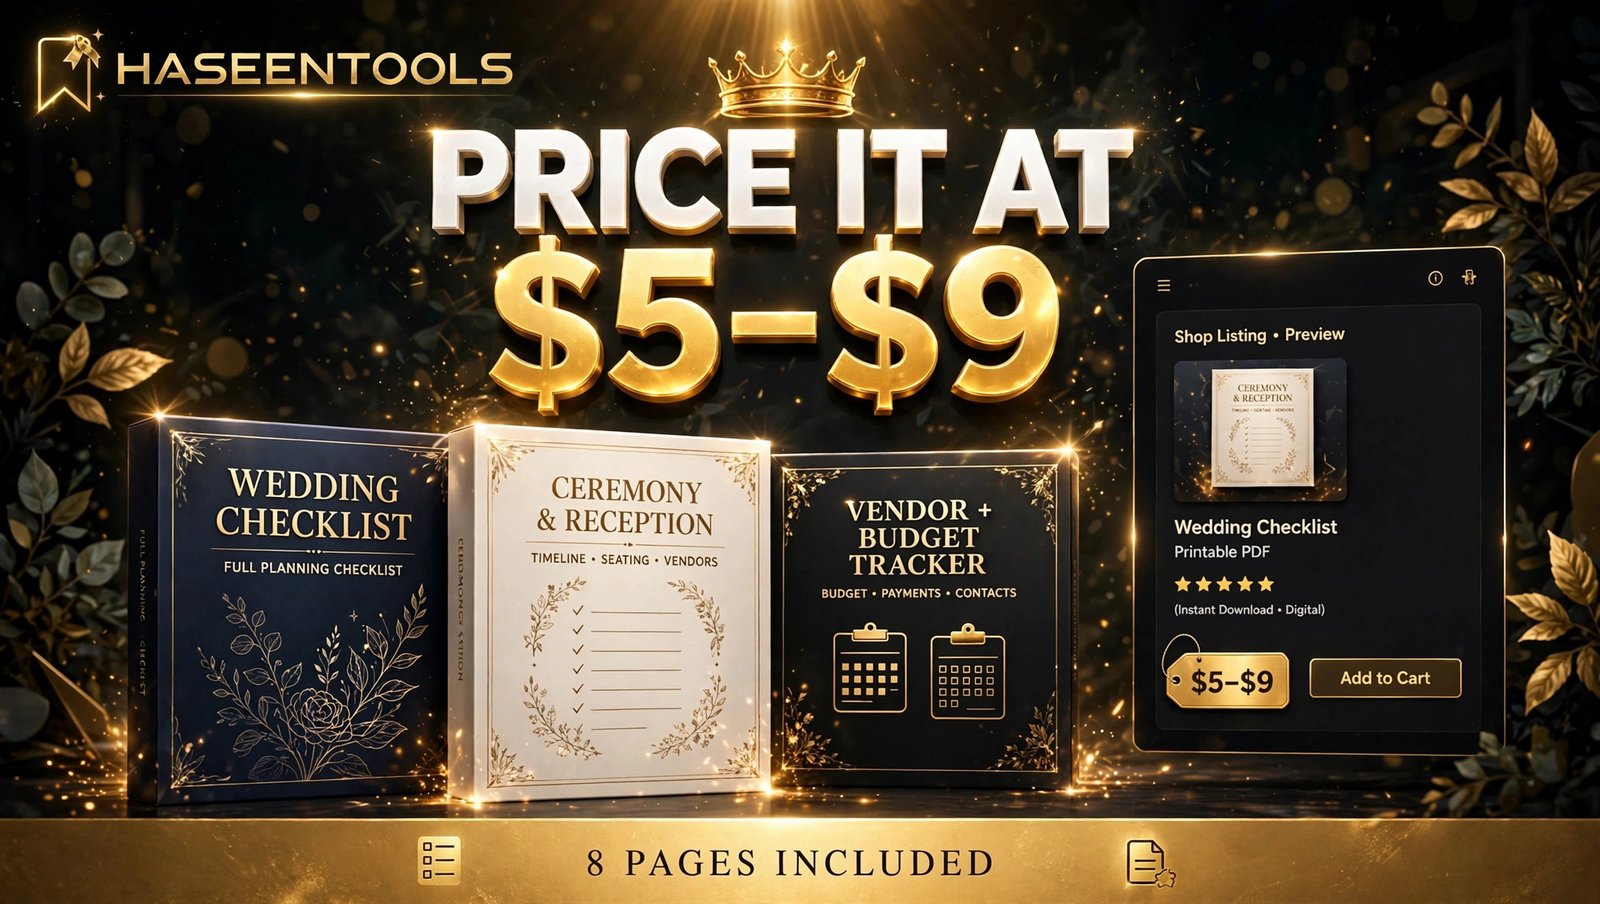
Exactly how: Check five bestsellers. Single printable wedding checklists usually sell for $5 to $9, and full wedding bundles sell for $15 to $25. Start your 8-page checklist at $7 to collect reviews, then raise the price by $2 once you have ten reviews. Package a ZIP with the print PDF, a one-page “start here” sheet, and a short instructions PDF. State the licence plainly: personal use only, no reselling. Then test the ZIP yourself from a private browser window before you list it.
Example: “Plan your whole wedding in one place: 8 pages covering 12 months to the last dance, printable at home” outsells “cute wedding checklist PDF” because it names the outcome.
Pro Tip: Show the checklist filled in, not blank, in your first preview image — buyers trust a page they can see working.
Step 6: Promote It With Pinterest and Bundle It With Your Wedding Range
What to do: Launch one checklist properly, drive its first traffic from where engaged couples already browse, and plan the follow-up product before launch week ends.
Exactly how: Create five mockups: the cover, the 12-months page, the day-of timeline, a filled-in countdown page, and the “what’s included” flat-lay. Publish on a Tuesday or Wednesday morning, then publish three Pinterest pins the same day — the cover, the day-of timeline, and the filled-in page — each linking to the listing. For two weeks, watch which preview gets clicks and which questions buyers ask.
Example: A seller whose buyers kept asking “Does this work for a small wedding?” added one line, “Works for weddings of 20 to 300 guests”, and her conversion rate rose within a fortnight.
Pro Tip: Pair your checklist with matching printable wedding invitations in the same style — a couple who finds your checklist often needs invitations too. Matching wedding budget planner pages make a natural bundle.
Printable Wedding Checklist to Sell: PDF or Editable Template?
Most successful sellers offer both in one listing. Here is the difference.
| Option | What the buyer gets | Best for | Watch out for |
|---|---|---|---|
| Printable PDF | A fixed file to print and tick off by hand | Buyers who like paper | No colour or font changes |
| Editable Canva template | A link to edit in free Canva | Buyers who want their own colours | Pro elements need a template link |
| Bundle of both | PDF plus template link | Most listings | Keep the ZIP under 50 MB |
The bundle wins most of the time for a printable wedding checklist to sell: the PDF covers buyers in a hurry, the template link covers buyers who want control, and the instructions PDF answers common questions before they reach your inbox.
Common Mistakes to Avoid
- Designing for every wedding style at once. One clear style, such as modern minimal or rustic, wins faster than a checklist trying to please every taste.
- Cramming 30 tasks onto one page. More tasks feel like value; unreadable tasks feel like clutter.
- Using tiny fonts under 11 points. Anything cramped fails the moment a buyer prints it and tries to write in it.
- Forgetting the due-date line. A task with no date is just a wish, and buyers will say so in reviews.
- Skipping the test print. Print one copy at home at 100 percent scale and check every tick box before you list.
Quick Checklist
- One buyer and one planning problem chosen, checked against five bestsellers
- A mapped 8-page structure, in the order couples use it
- One Canva master layout at US Letter size, two fonts, three colours plus a neutral
- Tick box, due date, and notes line on every task row, type at 12 points or larger
- One test print done at home, tick boxes checked at 100 percent scale
- Listing priced at $5–$9, with five mockups and a filled-in first preview
- ZIP tested from a private window, licence stated as personal use only
- Three Pinterest pins published on launch day, stats reviewed after two weeks
Frequently Asked Questions
How much does a printable wedding checklist sell for?
A single printable wedding checklist sells for $5 to $9 on Etsy, and a full wedding bundle with the checklist included sells for $15 to $25. One listing can sell the same file many times, so your earnings depend on listings, mockups, and promotion.
Do I need Canva Pro to make a wedding checklist to sell?
No. A free Canva account is enough for most checklist designs. Canva Pro adds background removal and premium elements, but start free and upgrade only when a paid feature saves you real time.
What pages should a printable wedding checklist include?
At minimum: 12-months, 6-months, 3-months, 1-month, week-of, and day-of timeline pages. An 8-page set adds a cover and a vendor contacts page with space for notes.
Where is the best place to sell a printable wedding checklist?
Etsy is the best starting point, because engaged couples already search there for wedding printables. Once a listing has reviews and steady sales, add it to your own website or Gumroad to keep more of each sale.
Conclusion
A printable wedding checklist to sell is a small product with a real advantage: every couple needs one, they need it early, and you make it once and sell it again.
- Research five bestsellers first, then map an 8-page set in the order couples use it
- Design it in Canva at US Letter size, with tick boxes, due dates, and room to write
- Price it at $5–$9, show it filled in, and list it on Etsy with five mockups
- Promote it on Pinterest, one pin at a time, and bundle it with your wedding range
Your first checklist does not need to be perfect — it needs to be finished, tested, and listed. Open Canva, design your first countdown page tonight, and browse the Haseen Tools shop. Tell us in the comments which wedding style you will design first.